
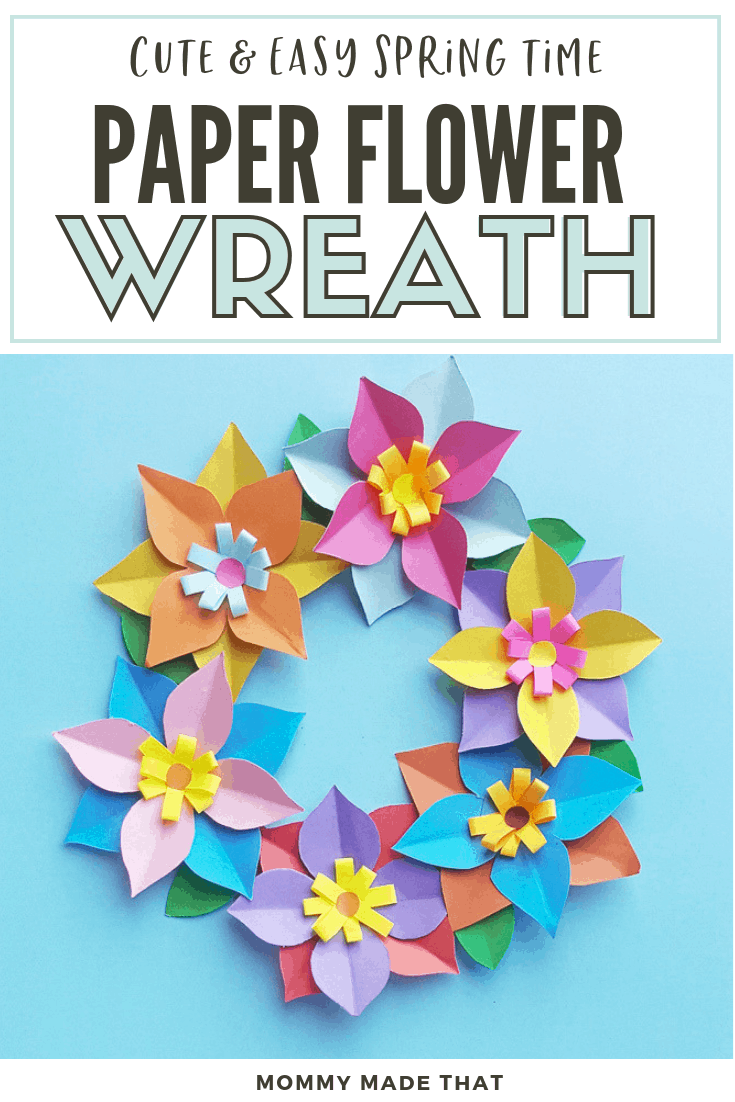
Easy Paper Flower Wreath Tutorial | With FREE Printable template
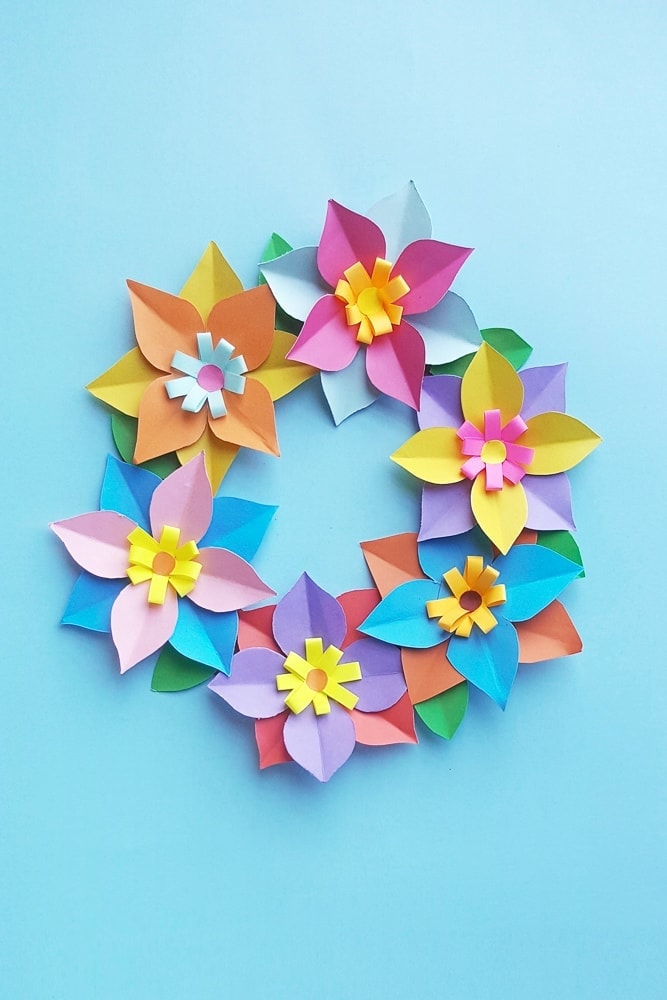
Today we have an adorable paper flower wreath craft! It’s a fun spring craft for kids that’s way easier than it looks!
It’s springtime! All the flowers in the yard are blooming and the kids are all excited about the beautiful bright blooms.
It a perfect time to make our own springtime flower crafts!
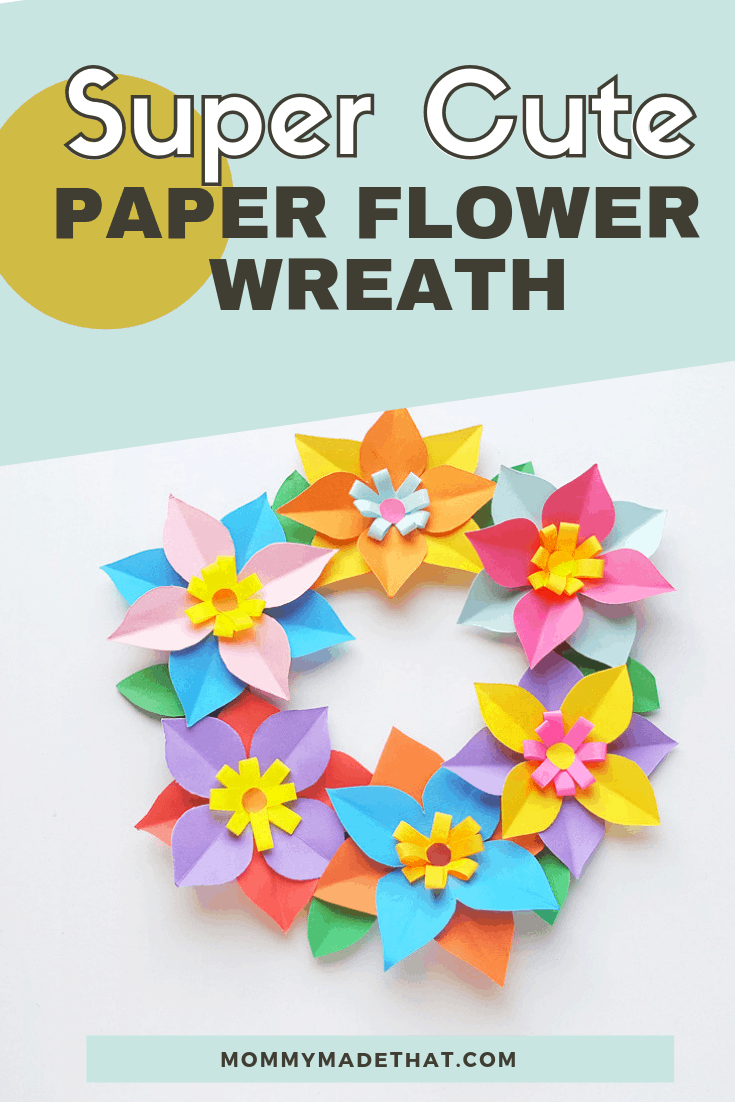
Today we have an easy paper flower wreath tutorial that will show you just how easy it is to make a beautiful flower wreath to display in celebration of the changing season.
It’s made completely from paper flowers.
Make sure to grab our flower wreath template before you get started.
You can also add in some of our leaf templates if you are wanting more leaves in your wreath.
And if you enjoy this tutorial, you’ll love our paper rose tutorial too, which shows you how to make a rose from paper.
Table of Contents
- DIY Easy Paper Flower Wreath
- Step 1: Cut out Your Paper Flower Pieces
- Step 2: Crease Your Flowers and Form Your Rings
- Step 3: Layer your flowers
- Step 4: Attach a Ring
- Step 5: Attach the Rest of Your Rings
- Step 6: Attach The Center of Your Flower
- Step 7: Repeat for More Flowers
- Step 8: Create a Wreath Base
- Step 9: Start Gluing Your Paper Flowers to Your Wreath
- Step 10: Finish Assembling Your Paper Flower Wreath
- Grab the Flower Wreath Template
- Easy Paper Flower Wreath Tutorial
DIY Easy Paper Flower Wreath
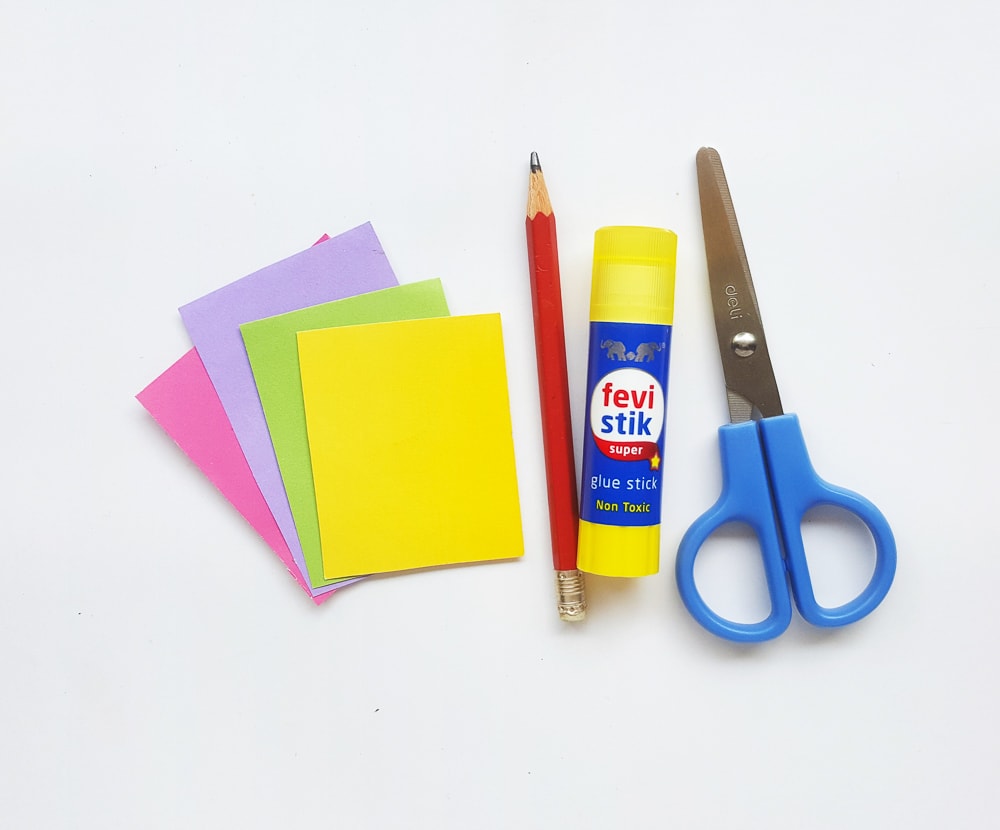
To make this wreath you’ll need a few basic supplies. Most of which you probably already have at home.
Supplies
- Flower wreath printable template
- Colored craft paper
- Cardstock paper
- Glue stick or craft glue
- Pencil
- Scissors
Step 1: Cut out Your Paper Flower Pieces
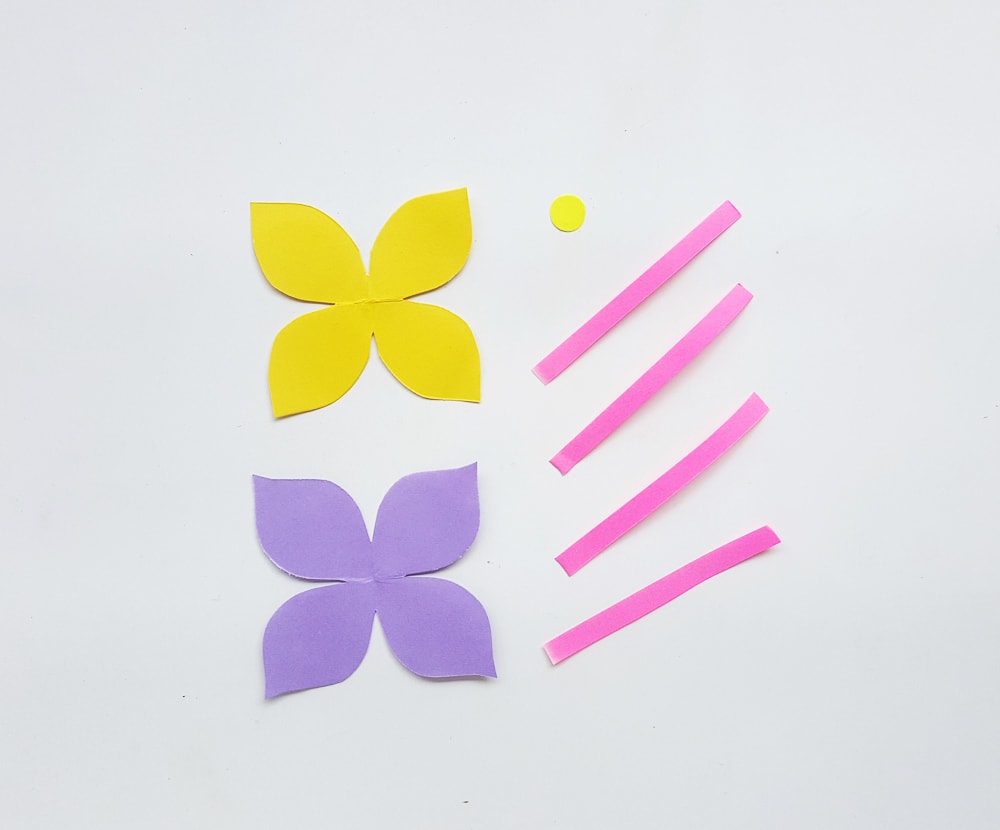
Grab the template for your flower wreath and the rest of your supplies. Choose which colors you want for your flowers and trace out your flower patterns from the template, then cut out all of your flower pieces.
Select colored craft papers for the flowers and trace the patterns on the paper from the given template. Cut out the traced patterns like below.
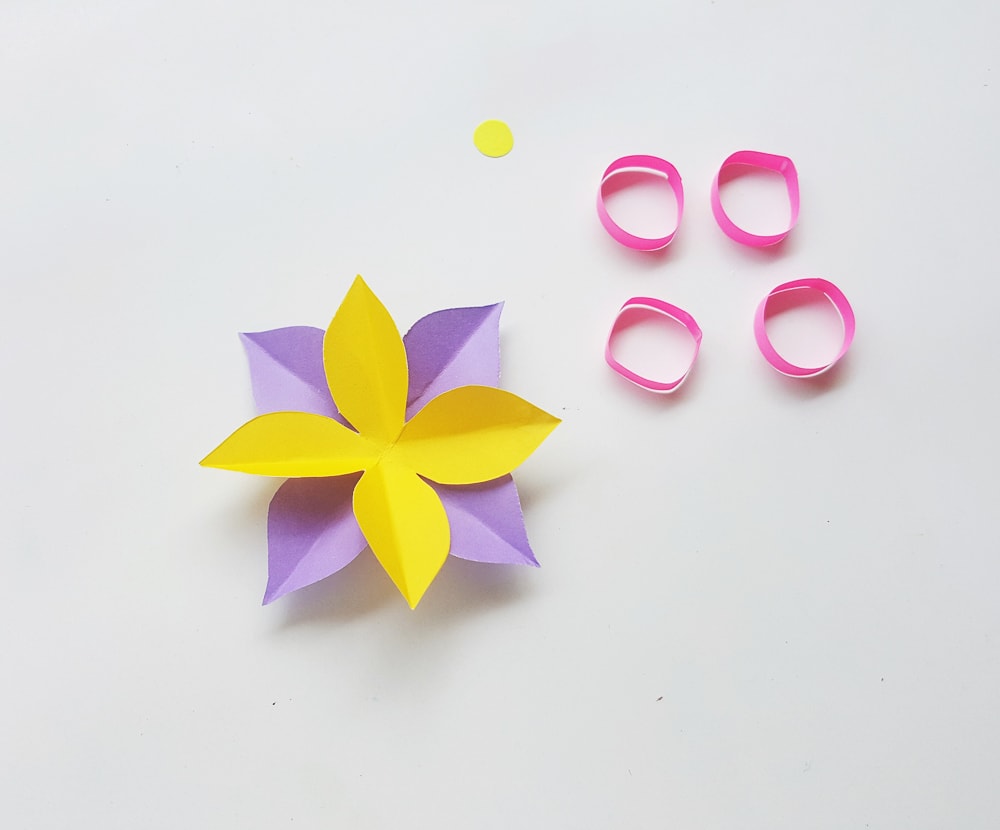
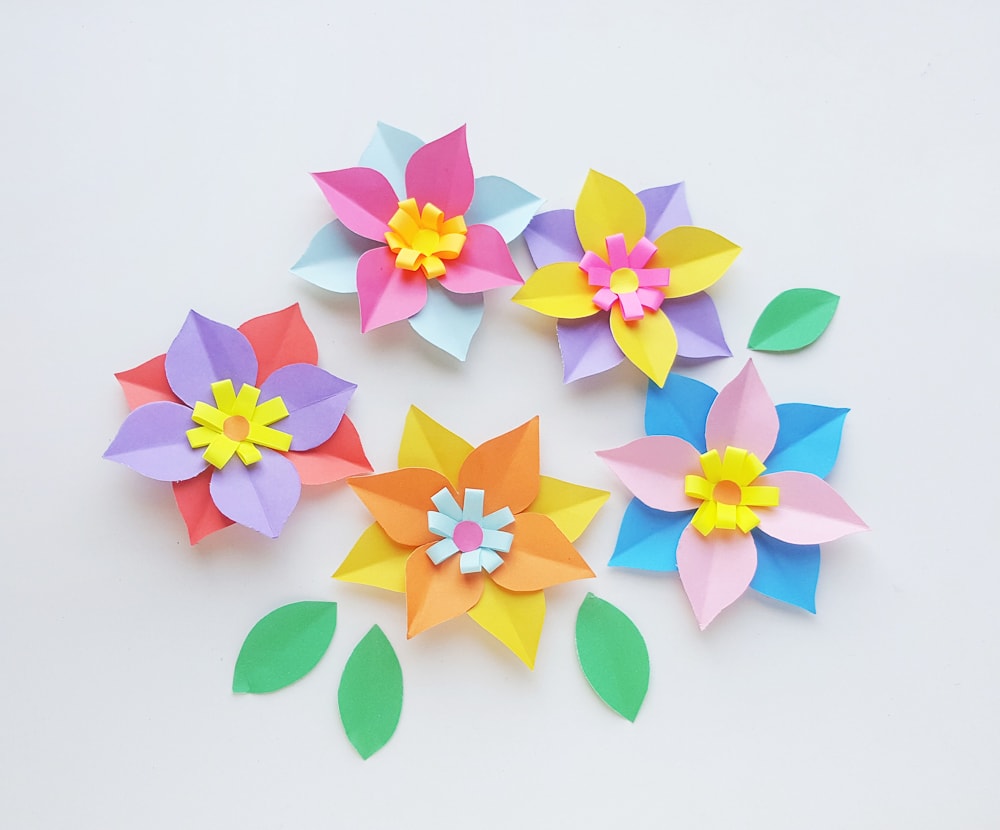
Each flower will have 2 flower cut outs, 4 strips of paper, and a small circle for the center.
Step 2: Crease Your Flowers and Form Your Rings
Take your strip cut outs and form them into rings by gluing the ends together.
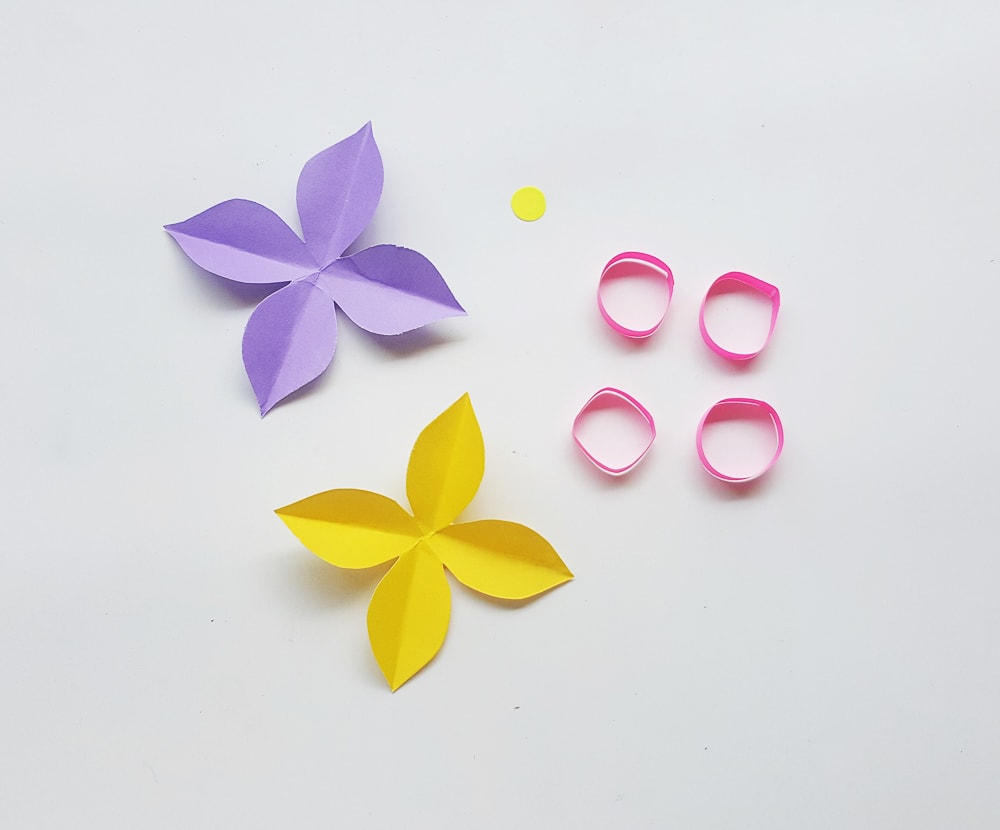
Create creases down the center of each of your flower’s petals by folding them from one petal tip to the petal tip across from it diagonally.
Step 3: Layer your flowers
Now lay one of your flowers onto the other flower to create a layered effect. Make sure to place the petals in opposing fashion like showing in the photo below.
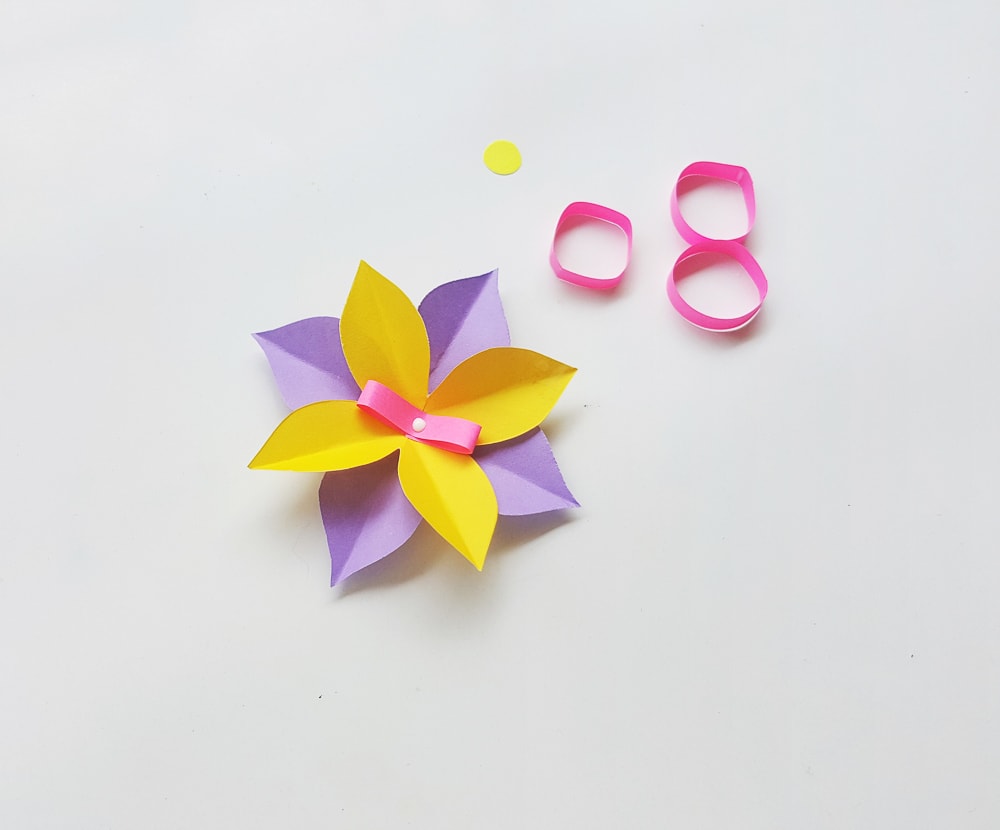
Step 4: Attach a Ring
Now take one of your paper rings and attach it to the center of your flower like shown below.
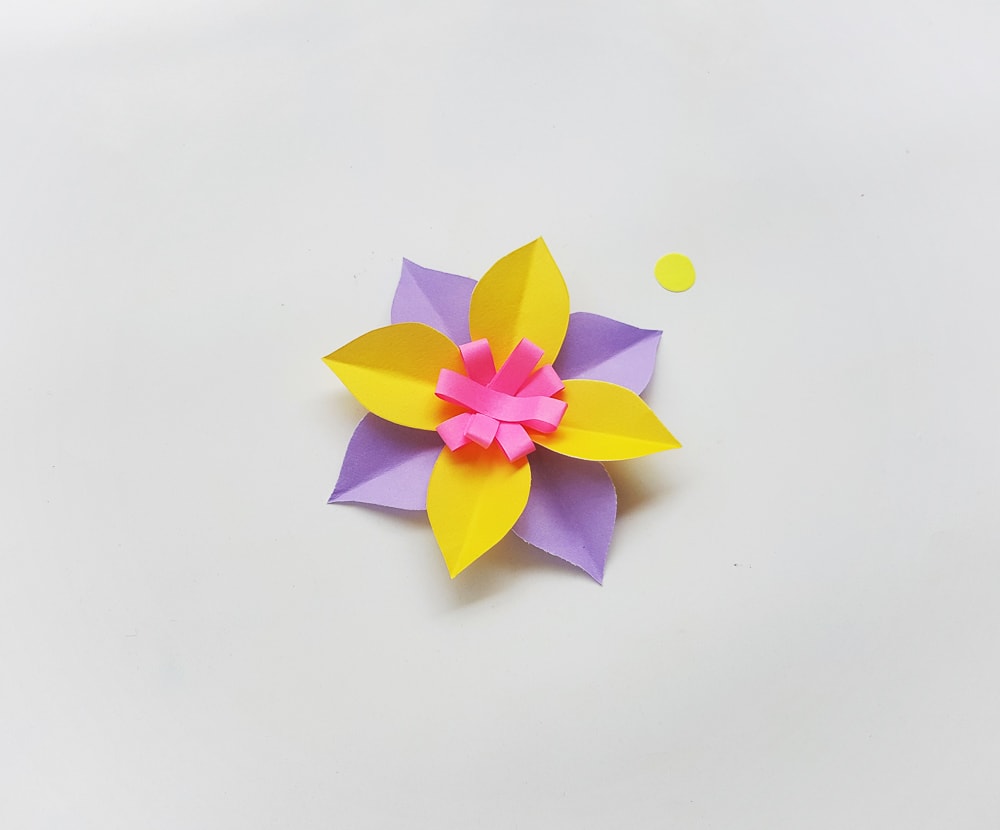
Step 5: Attach the Rest of Your Rings
Now attach the rest of your rings crossing the others to form a type of fringe in the center of your flower.
It’s best to go horizontally, then vertically, then across both of the diagonals of the center of your flower so your flower looks like the one in the photo below.
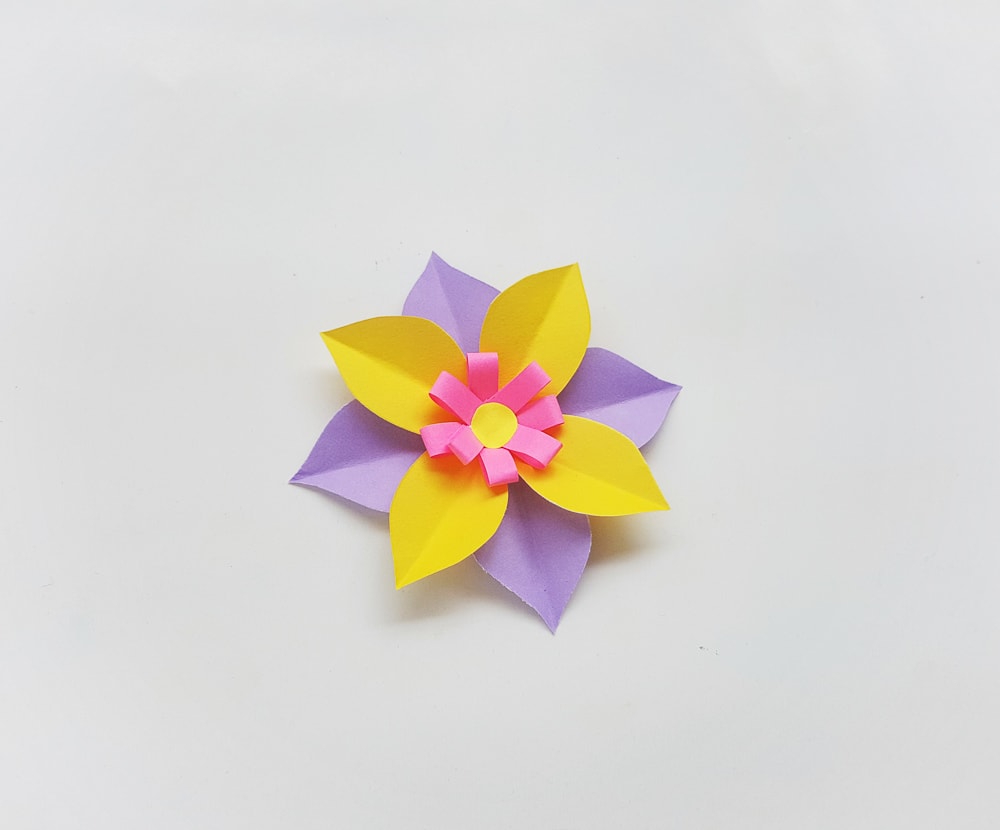
Step 6: Attach The Center of Your Flower
Now take your small circle cut out and glue it to the center of all of that fringe in the center of your flower.
Step 7: Repeat for More Flowers
Now you can admire your flower for a moment, then repeat the process several more times to create lots of flowers for your flower wreath.
Also, cut out several green leaves to fill in the rest of your paper wreath, behind the flowers.
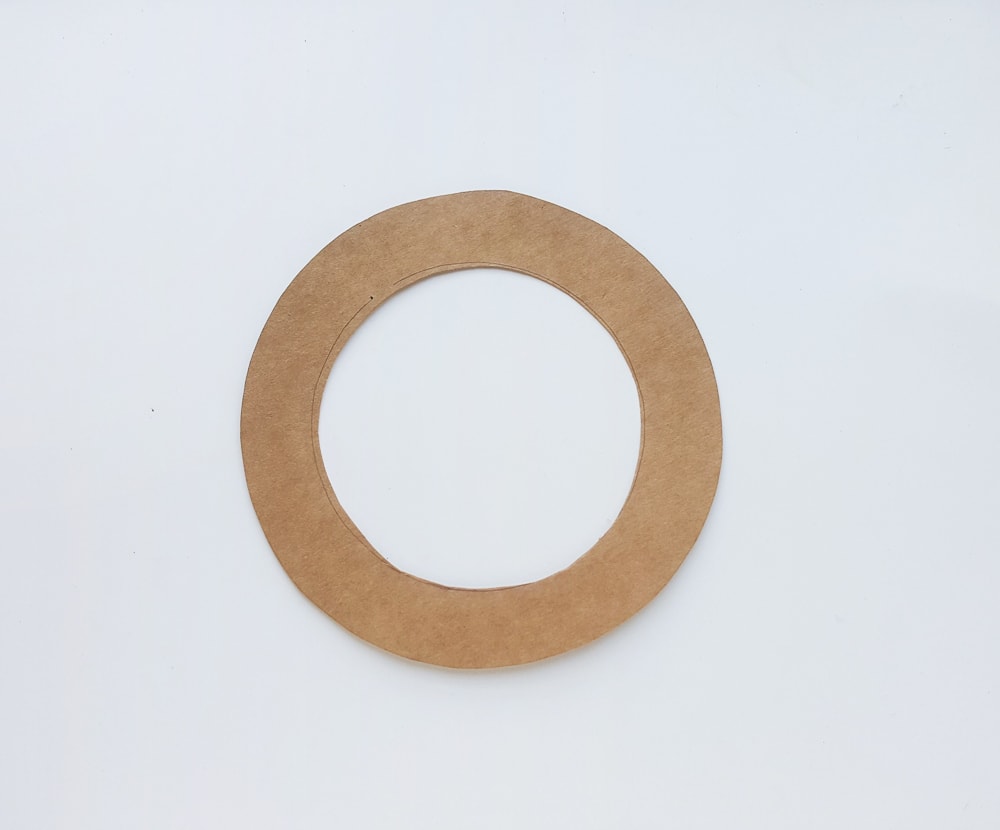
Step 8: Create a Wreath Base
Using your thick card stock, create a ring to form your wreath base. We used brown, but white or green would look great too.
Alternatively, you could use thin cardboard recycled from around the house.
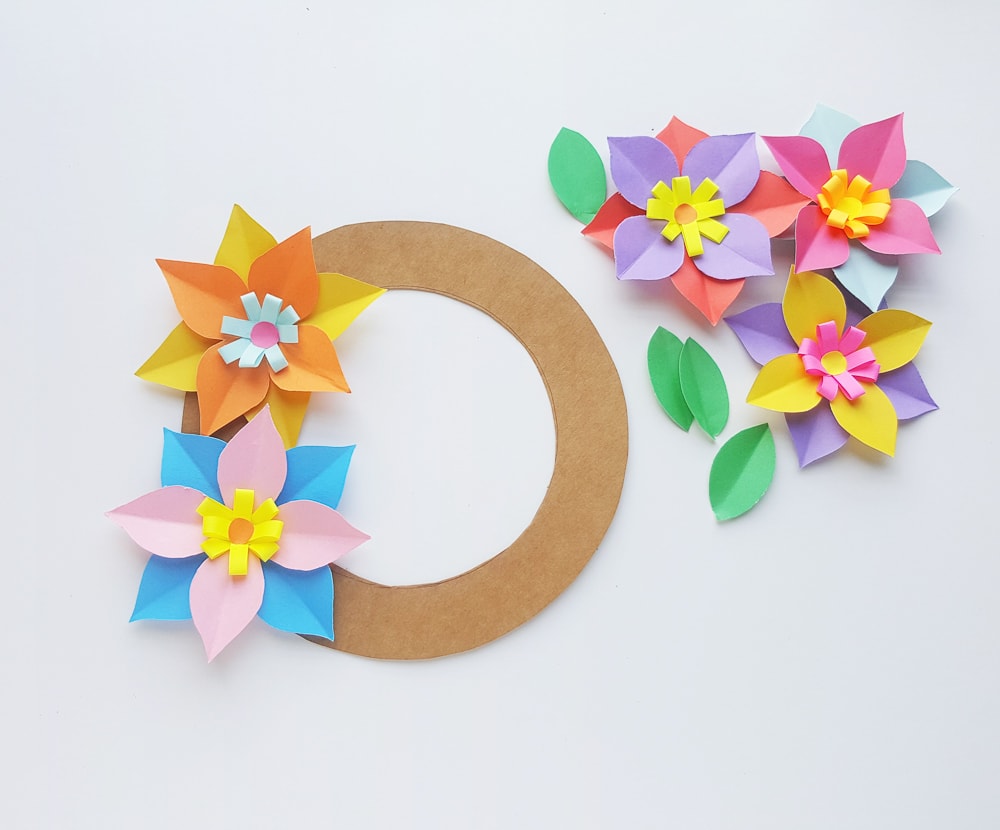
Step 9: Start Gluing Your Paper Flowers to Your Wreath
One by one start gluing your paper flowers to your wreath. I would play with the composition a little before you start to glue them down.
It’ll help you figure out how far apart to place your flowers and which colors look best where.
Step 10: Finish Assembling Your Paper Flower Wreath
Now you can finish assembling your floral wreath by gluing down all of your flowers and finishing it off with the green leaves in between.
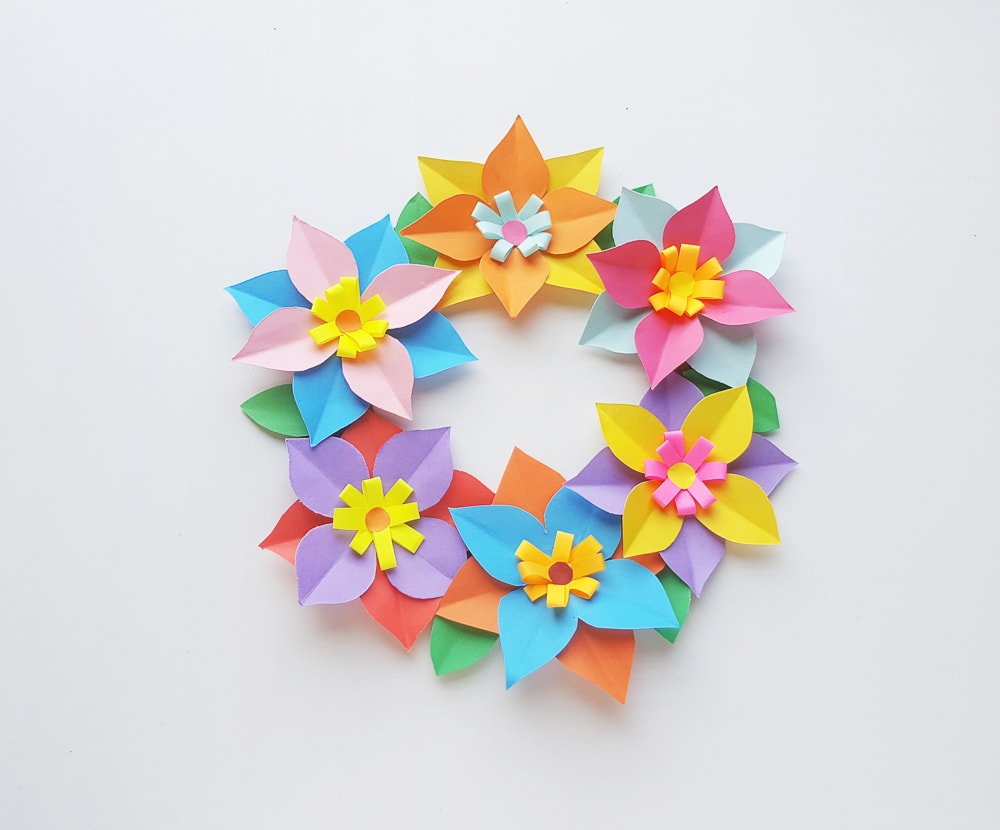
Allow your glue to dry for a few hours and your paper flower wreath is ready to hang up!
Doesn’t it just look so perky and fresh! A fantastic craft for spring. Best of all the kids can totally do this one with only a little help depending on their age.
Grab the Flower Wreath Template
To grab this flower wreath template, put your email in the box below.
We’ll send the template straight to your inbox.
This template is for personal or classroom use only, not for commercial use. Thank you.

Easy Paper Flower Wreath Tutorial
This paper flower wreath is a cute and easy spring craft that you and your kids will love!
Materials
- Colored craft paper
- Cardstock
Tools
- Scissors
- Glue
- Pencil
Instructions
- Collect your supplies. For your first flower select a few different pieces of your craft paper and trace out the patterns of your printable template and cut each shape out.
- Take one of your strip cut outs and form it into a ring by gluing the two ends together. Form rings with the rest of your strips. Create creases down your flower petals by folding each flower shape in half by matching up petal tip to is diagonal partner.
- Layer both flower shapes on top of each other to form your flower base.
- Attach one of your paper rings to the center of your flower.
- Keep attaching the rest of your rings to the center of your flower, pressing down and gluing the center of them to form a fringed center for your flower.
- Now glue the small circular cutout and attach it to the center of your fringe.
- Create the rest of your paper flowers and cut out a few small leaves from green craft paper.
- Cut out a wreath base from your card stock or a thin piece of cardboard. (Cereal boxes work great for this!)
- Glue to paper flowers on to your wreath base.
- Continue to work around your wreath gluing your paper flowers until it is completely filled. Fill in any gaps using your green leaves.
- Allow your paper flower wreath to completely dry, then hang and enjoy!
Thank you for this lovely pattern. I have decorated my home windows with the wreath and some more of the flowers in paper cut out vases. Thank you. They look great.