
Pretty Paper Quill Flowers in a Watering Can: Easy DIY

Spring is in full swing and we’ve been making lots of fun paper flower crafts and spring crafts with the kids.
This adorable quill flower papercraft is not very complicated, but looks like it took a lot of work!
This is the perfect springtime craft for your self or for kids!
Here are our step by step instructions. Make sure to sign up at the bottom and get access to our extensive crafting resource library! It’s got tons of printables and useful tools for your crafting fun!
- Cardstock paper
- Colored craft papers
- Pencil
- Scissors
- Glue
Table of Contents
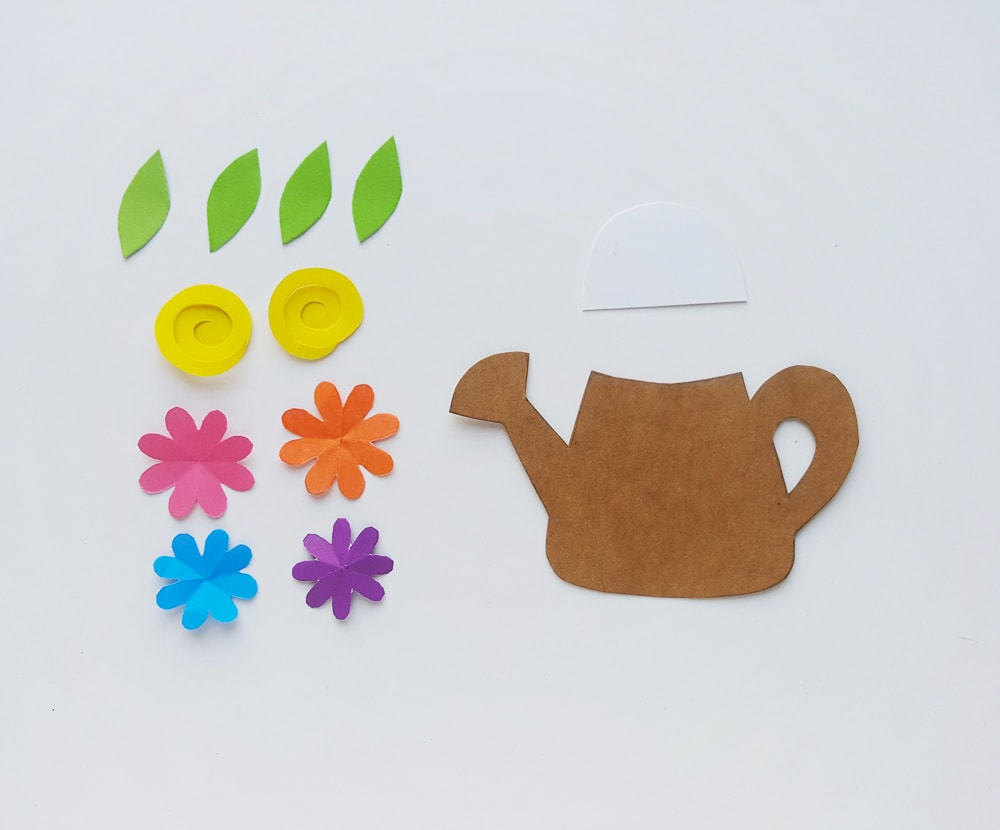
Step 1: Gather Your Paper Quill Flower Supplies
Select a few different pieces of colored craft papers and trace the template patterns on them.
Use scissors to cut out the traced patterns. Trace the watering can and the semi-circle pattern on some cardstock. Trace out the rest of the patterns on the craft paper.
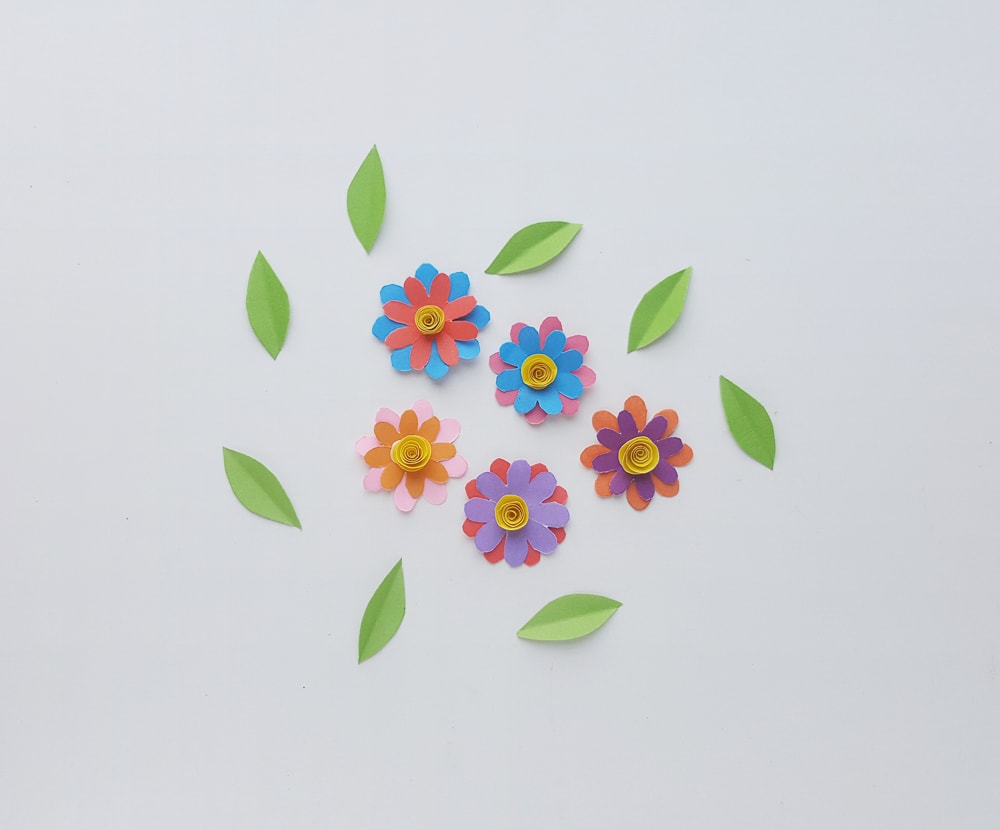
Step 2: Start Rolling Your Flowers
Roll the spiral patterns to create rolled flowers. Grab 1 big flower cut out and one small flower cut out.
Glue the small flower on the top of the big one.

Step 3: Arranging Your Flowers
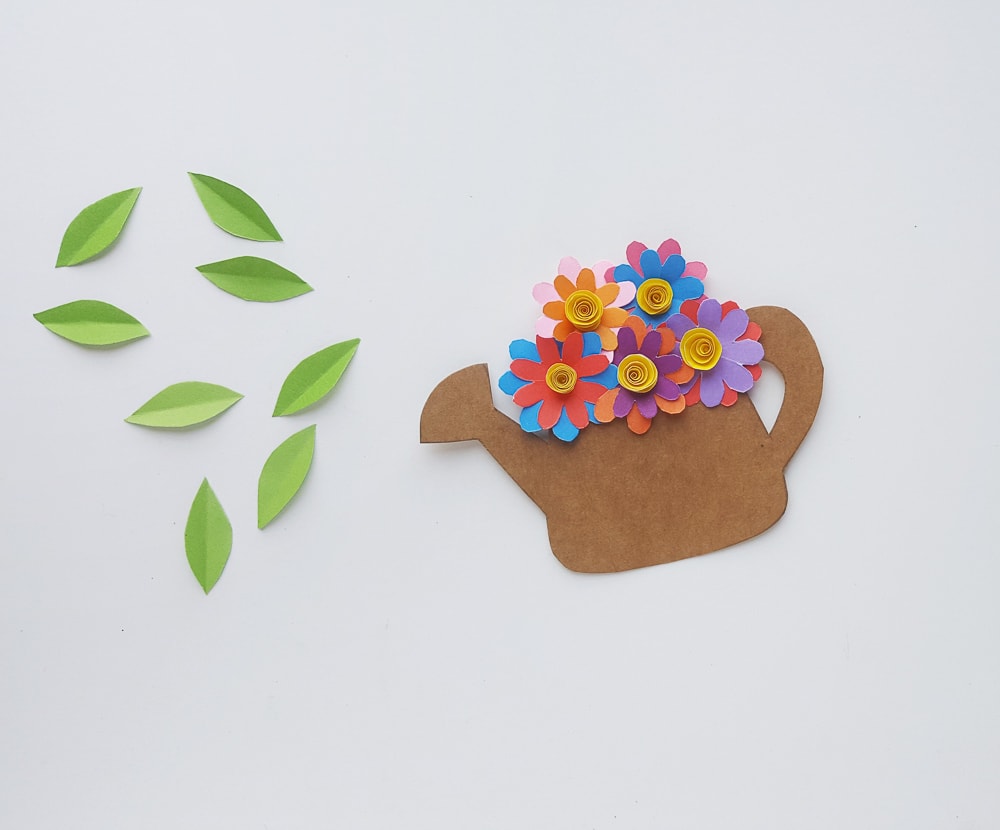
Glue the rolled up flowers on the center of the smaller flower cut outs.
Now fold your leaves in half lengthwise and open them back up. This will create a leave-like line down the center.
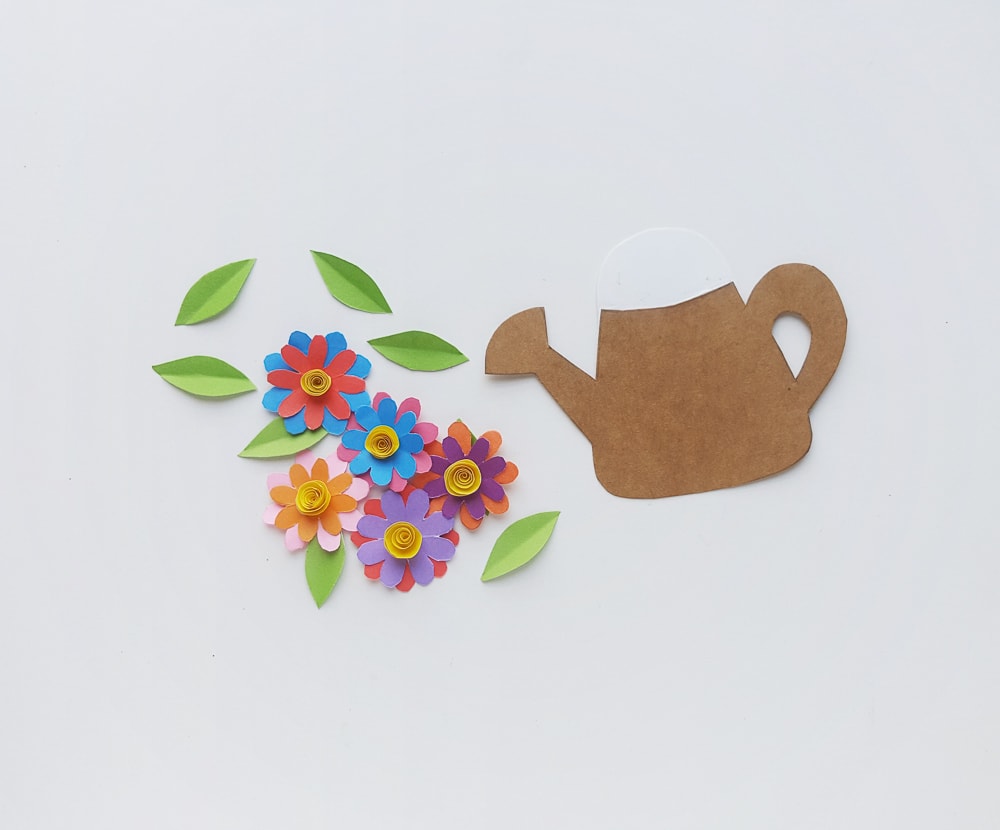
Step 4: Assemble Your Watering Can
Now gather your watering can and semi-circle cutouts.
Glue the semi-circle to the top of the watering can, giving you a space to glue down your flowers above the watering can opening.
Step 5: Glue Your First Layer of Flowers Down
Now you can glue your first layer of flowers above the watering can’s opening.
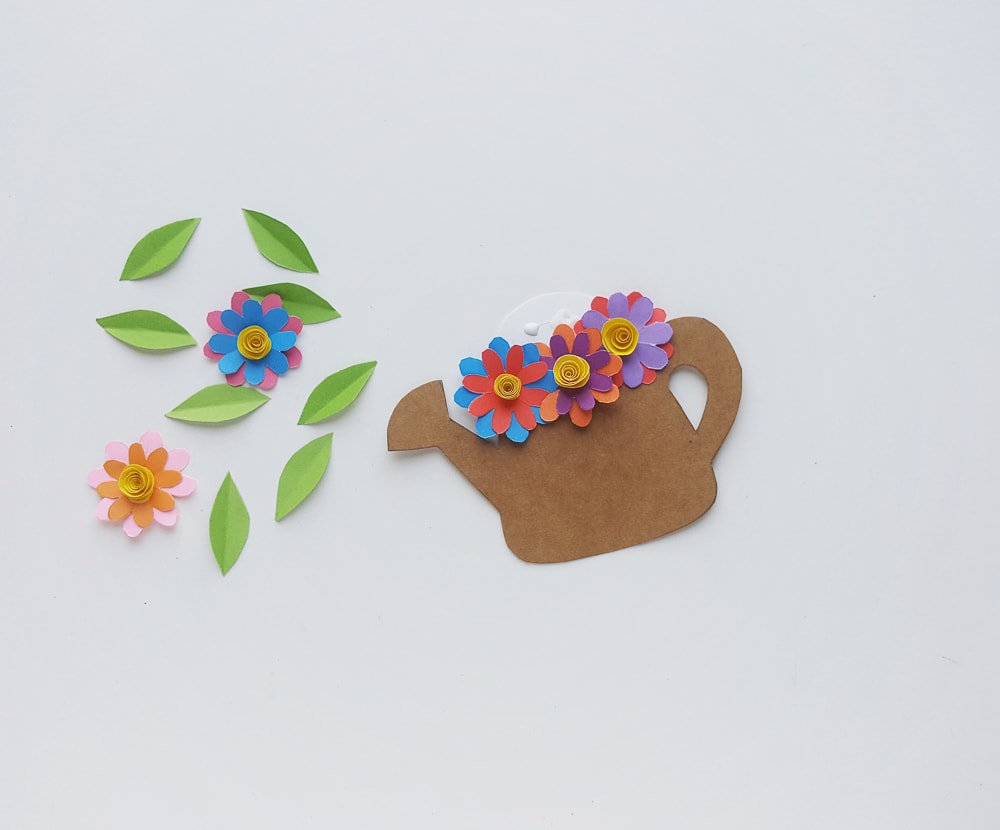
Step 6: Glue the Last of your Paper Flowers Down
Now you can glue your last few paper flowers down in a layer above your first layer of flowers.
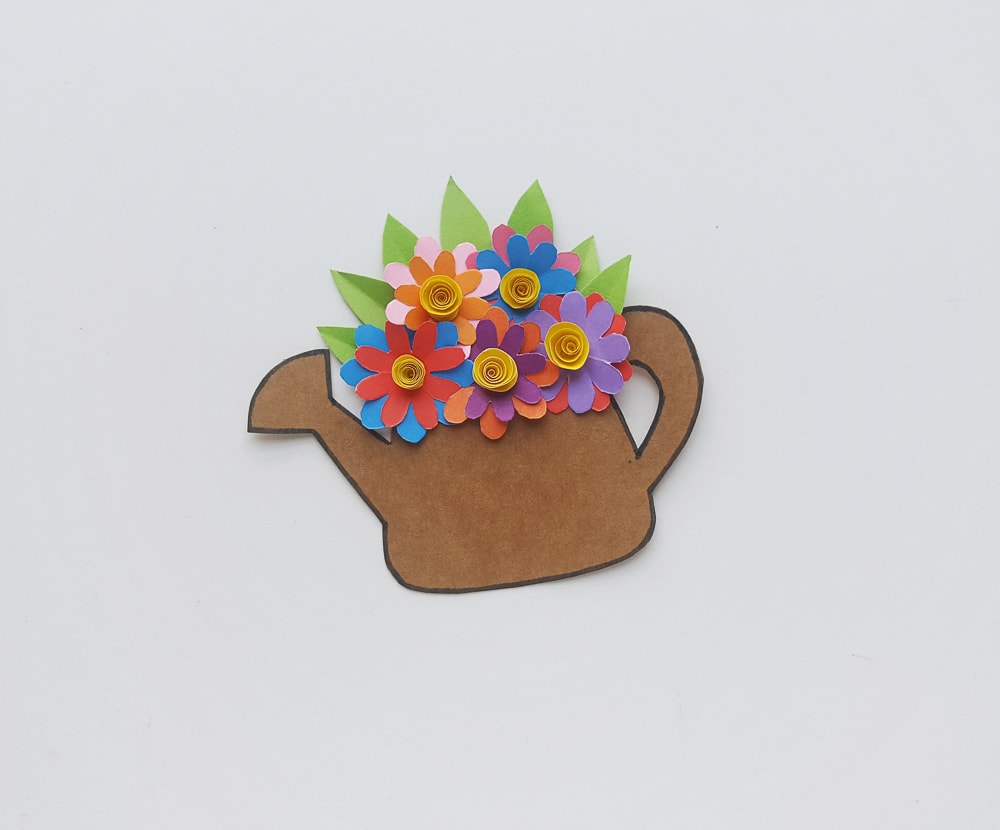
Step 7: Glue Down your Leaves
Now you can glue down your leaves in between your paper flowers. Try to use them to completely fill up the rest of your semi-circle so it doesn’t show.
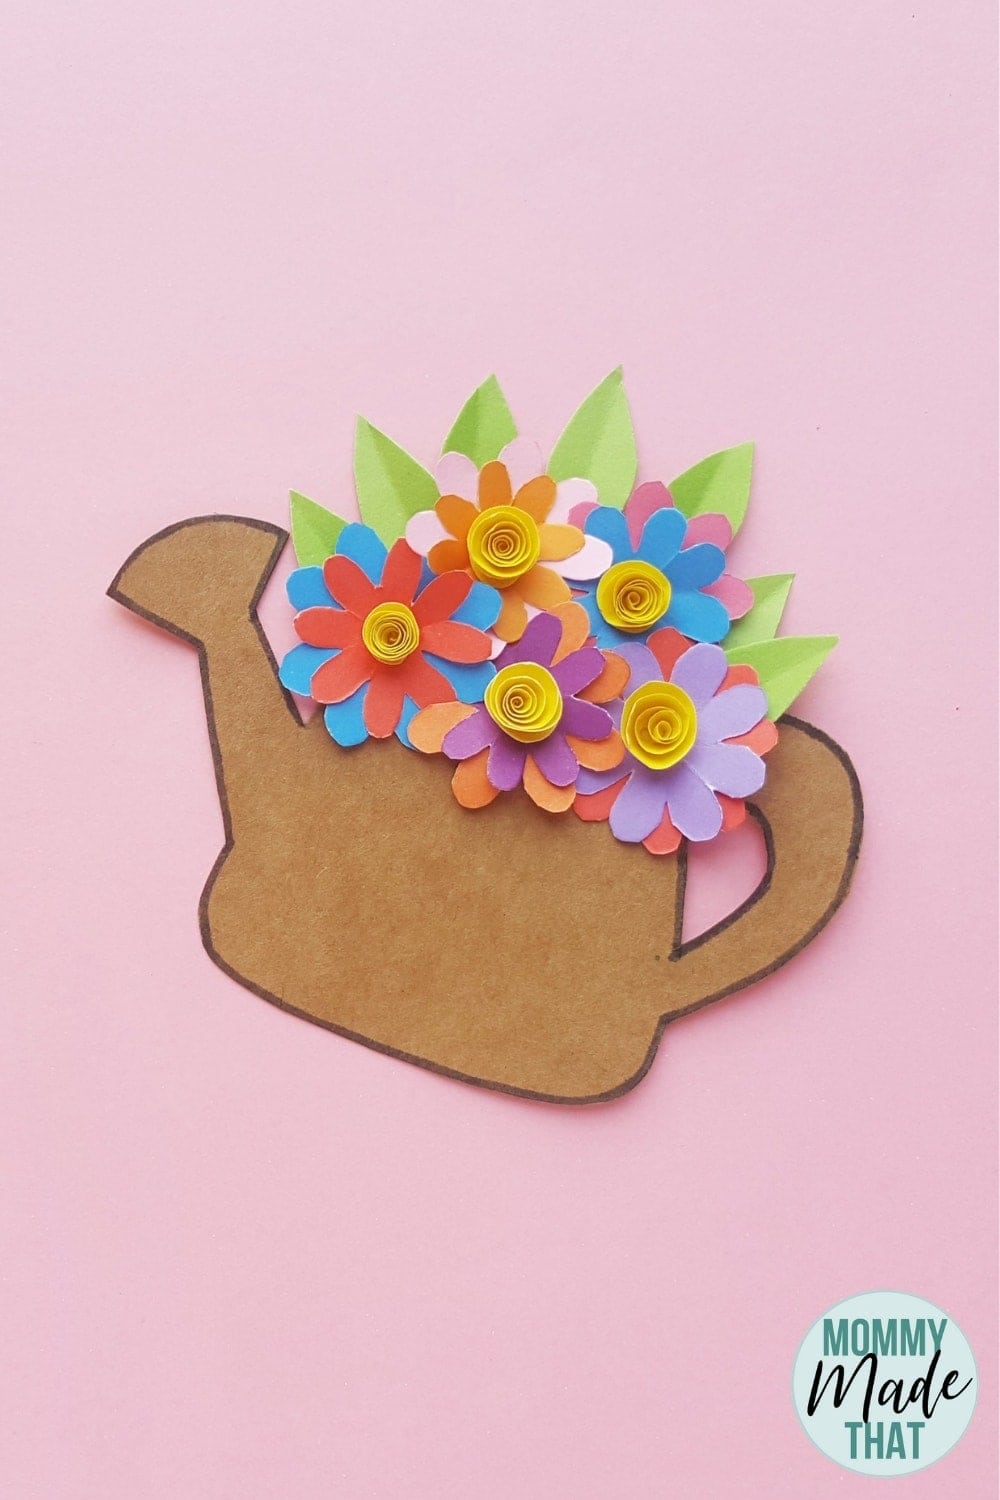
Once your craft is fully assembled, allow it to dry for a few hours.
Enjoy your pretty paper flowers!
Love the craft idea
Cuteness!