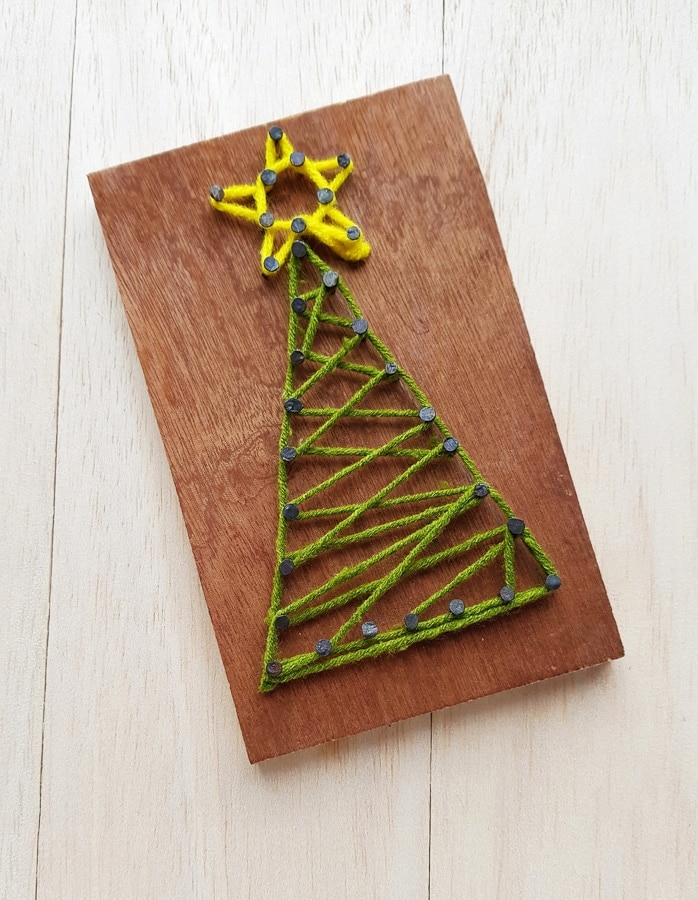
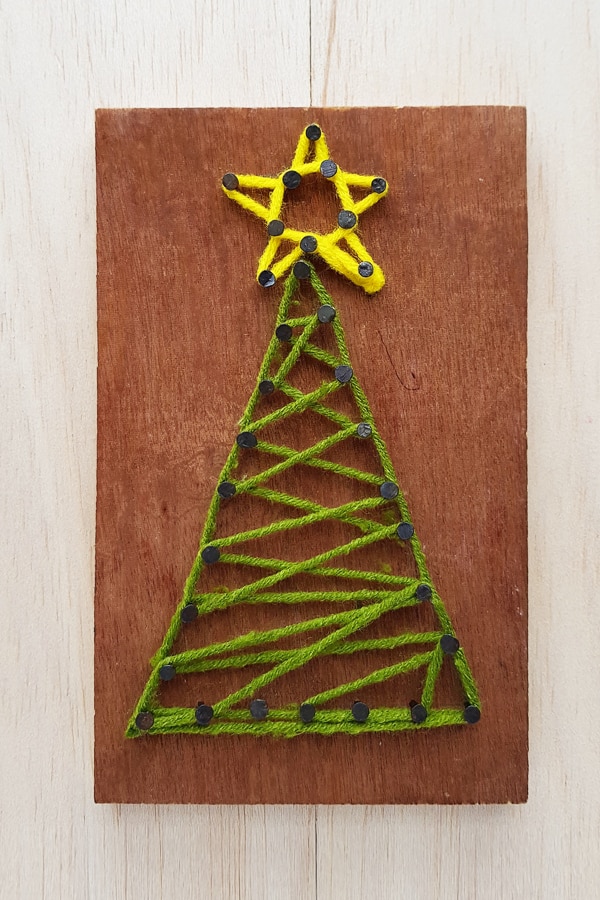
Christmas Tree String Art
This fun and easy Christmas tree string art is fun way to decorate this Christmas season. This is a simpler version but a lot of fun!
It’s no surprise, we love Christmas crafts around here! And Christmas tree crafts are one of my favorites.
This string art Christmas tree is no exception. It’s an easy craft for kids and tons of fun.
This is a fun and unique way to decorate your house during Christmas time.
This craft can be made from a piece of scrap wood like some plywood, some nails and string!
When making your Christmas tree you can keep it as simple or as complex as you like.
Today’s Christmas tree is a simple version and great for beginners of string art and a fabulous Christmas tree craft.
This post may contain affiliate links. This means if you click a link and make a purchase we may earn a commission. You can read our full disclosure here.
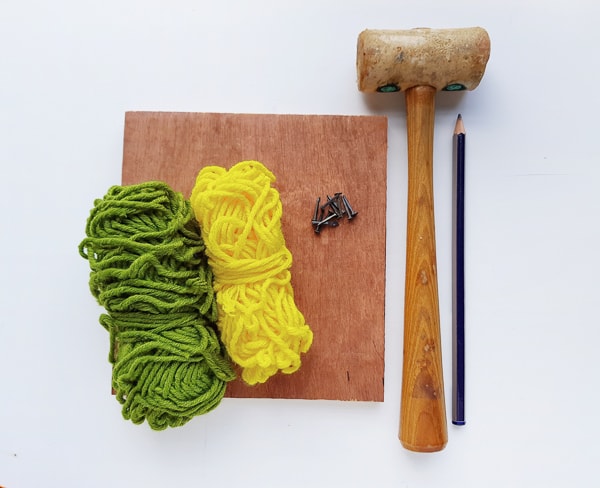
Supplies Needed for Christmas Tree String Art Project
Piece of scrap wood or plywood: Any shape you like, we used a rectangle.
Small nails: Really tiny ones worked well for us.
Yarn or other string: We used green and yellow colored yarn. But you could use any colored string or embroidery floss string.
You’ll also need some basic supplies like:
- Hammer
- Pencil
How to Make a String Art Christmas Tree
This is a simpler version of some of the string art you’ll see out there.
I like this one because it’s great for beginners and good craft adults and older kids.
They are also cute for those who like to make crafts to sell at craft markets.
So let’s get down to how to make this Christmas tree string art!
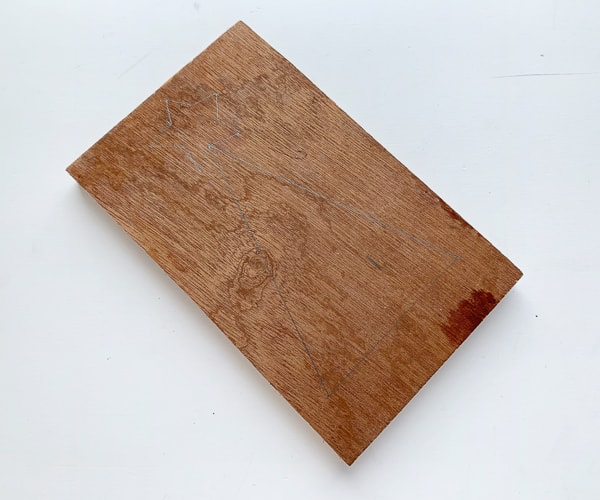
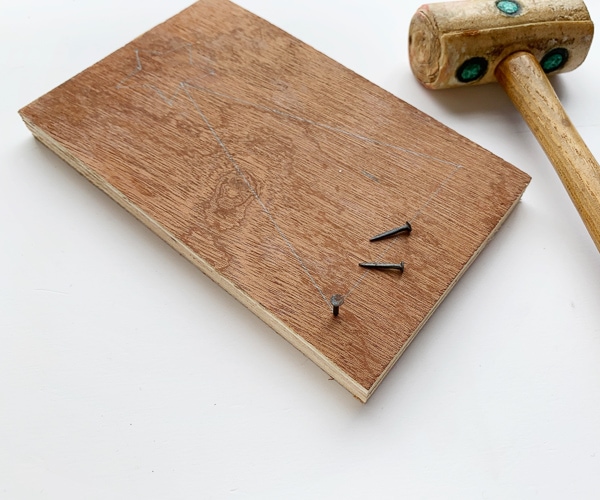
Step 1: Prepping your Wood
Grab the piece of wood you’ll be working with. prepare it to be the size and shape you like.
We cut a square piece into a more rectangular piece.
You can also buy pieces of already prepped wood like this which is good to use if you don’t have a way to cut your wood pieces.
You can also stain it before hand or paint if if you like, we liked the stained wood look.
Finally, using your pencil trace out a simple triangle for the Christmas tree and a start on top like shown below.
You could use a more complicated Christmas tree template, but it’ll make the string more complicated to weave through the nails and look good.
If you’re looking for a challenge, I suggest trying it out and letting us know how it goes!
Step 2: Start Placing Nails
Now that your wood is already, grab your nails and hammer.
Start to hammer the nails along the template of your Christmas tree.
We suggest starting from a corner.
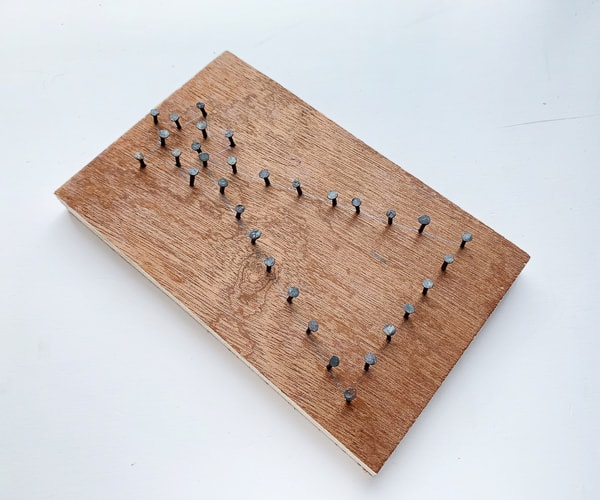
Step 3: Continue Placing the Nails in the Christmas Tree
Keeping placing the nails along the lines of the Christmas tree.
If you want a very symmetrical even look you can measure out how far you want your nails (a centimeter or so worked for us) or you can just freehand the placement.
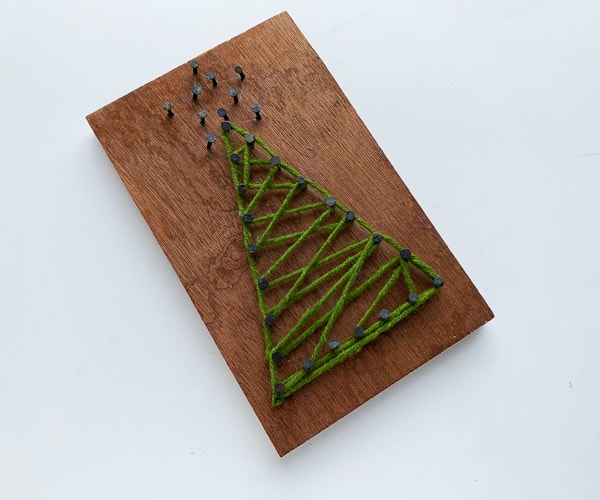
Fininsh hammering all the nails in place until your entire Christmas tree pattern if filled, like shown below.
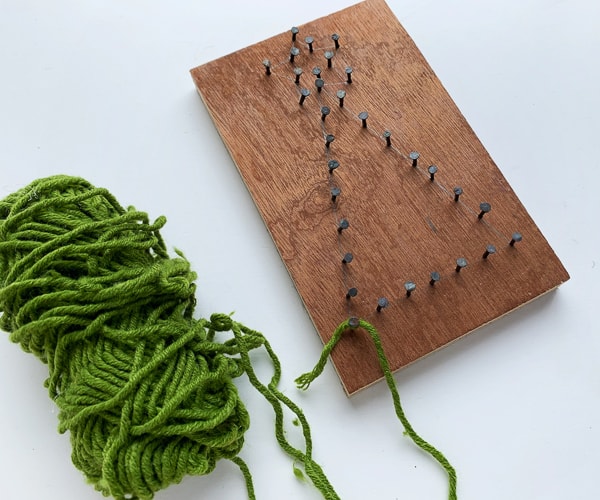
Step 4: Start Stringing the Christmas Tree
Now grab the yarn for the Christmas tree.
We stuck with a traditional gree for our tree.
Tie the yarn around one of the nails of the tree pattern.
Select a yarn for the triangular part (the tree) of the nail art and tie the yarn around any one of the nails of the tree pattern.
This should be a tree shape.
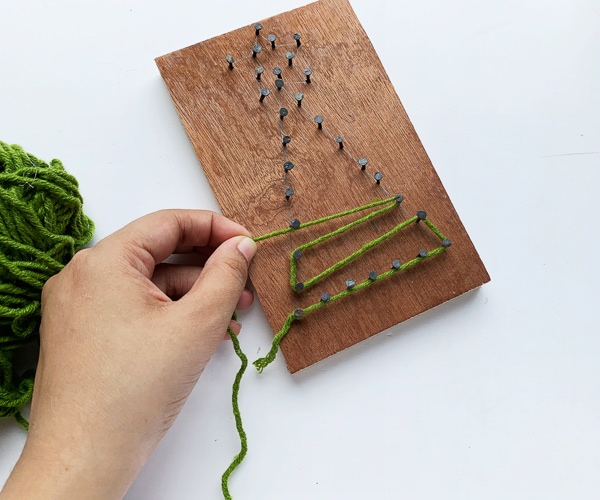
Step 5: Stringing the Yarn
Now comes the fun part of string art (in my opinion atleast.)
Stringing the art!
Pull the yarn through the nails to start filling in the Christmas tree.
You can do this very intentionally and create a pattern, or you can go crazy and do it randomly.
Step 6: Fill the Christmas Tree
However, you choose to string up the Christmas tree, make sure to fill it in completely and evenly.
This will help create a finished looked for your string art.
Once you are happy with how the Christmas tree looks and it’s all filled in, tie a knot around the last nail to secure it all together.
Then trim up any loose string.
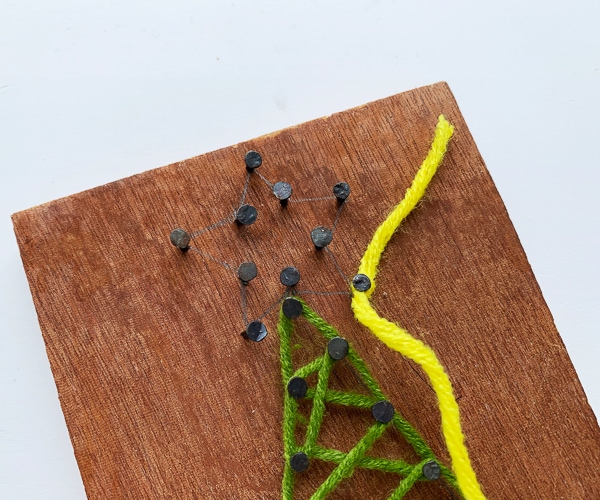
Step 7: Start Stringing the Star
Now grab the colored yarn or string you’ll be using for the star portion of the craft. We used yellow yarn.
Tie the string around one of the nails in the star pattern so you can start stringing the star.
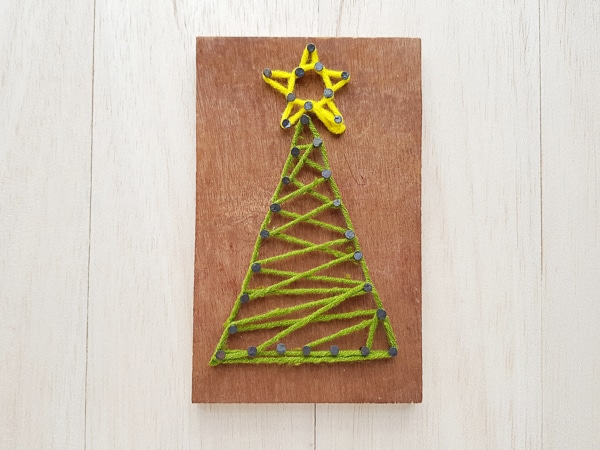
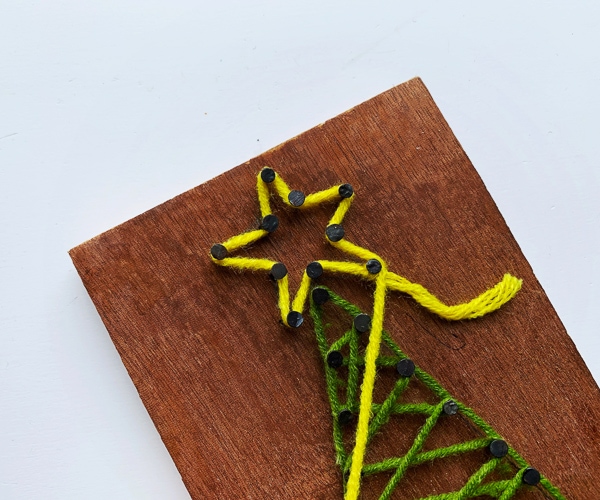
Step 8: Stringing up the Star
Draw the yarn around the outer side of the star nails to trace the star, like shown in the photo below.
Step 9: Finish the Star
Once you’ve outlined the star of the Christmas tree, start filling the gaps of the star in a bit with the yellow string.
Once the star is filled, tie another knot and trim up any loose string.
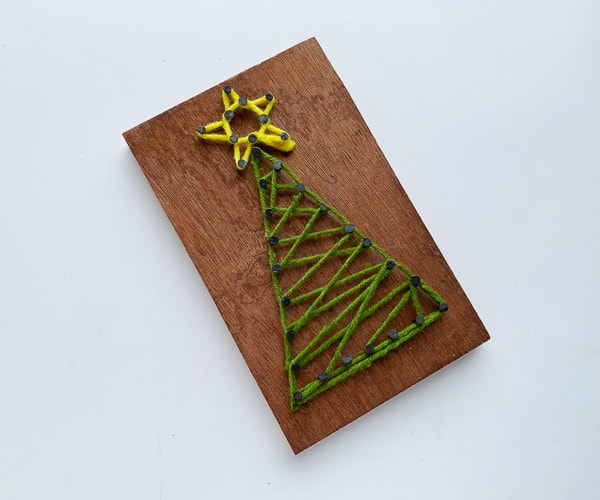
And that’s it! Your Christmas Tree string art is all finished!