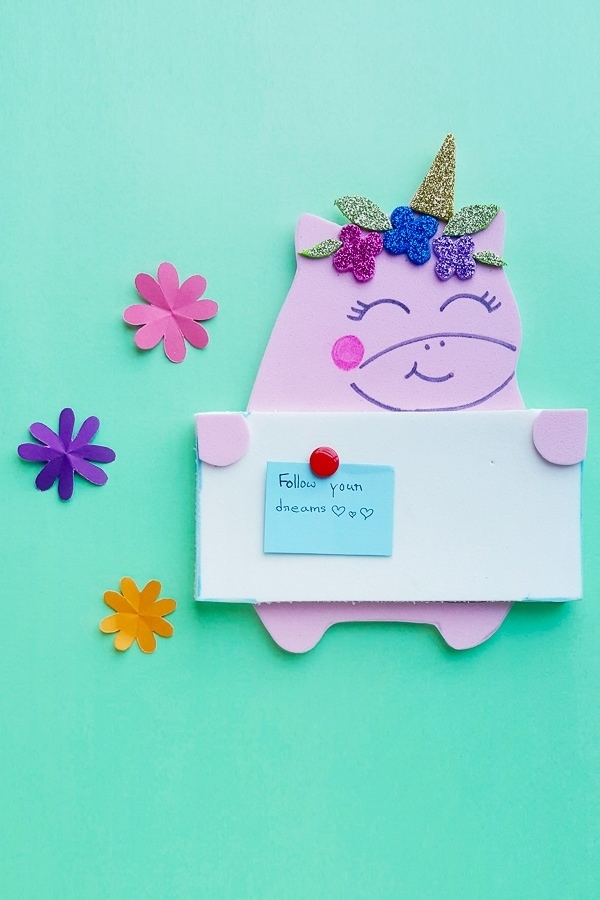
Cute and Easy Unicorn Pinboard
This unicorn craft is an easy craft for kids that makes an adorable unicor decoration after it’s finished.
We’ve got yet another Unicorn craft for you today. Because unicorn crafts are so much fun!
This time, instead of a majestic stead type unicorn, we’ve got a cute, quirky little guy.
We’ll be making our own DIY unicorn pinboard today. It’s sorta like a unicorn bulletin board only really tiny.
Which means it’s also a little easier to work with.
Table of Contents
DIY Unicorn Pinboard Craft
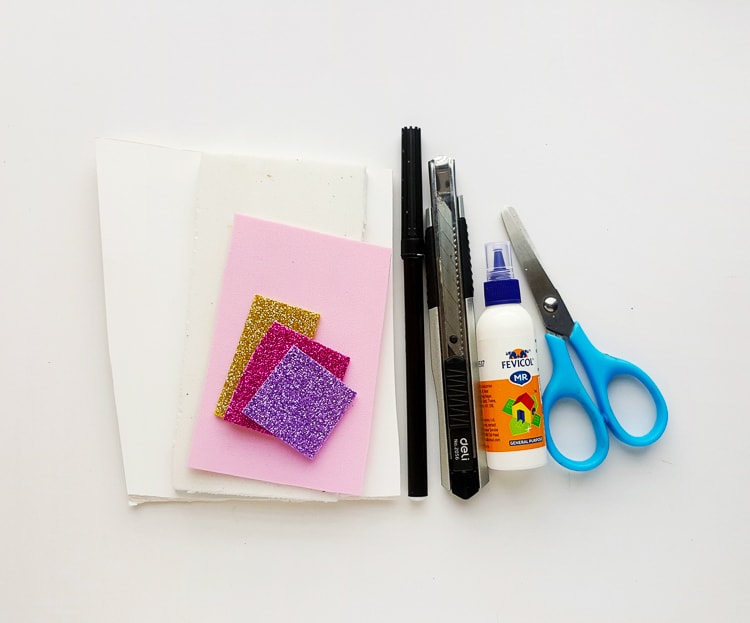
Supplies for your unicorn craft
- Craft foam sheet
- Craft foam board
- Glitter paper
- Pencil
- Scissors
- X-acto knie
- Glue
- Sharpie in Black
To Make Your Unicorn Pinboard
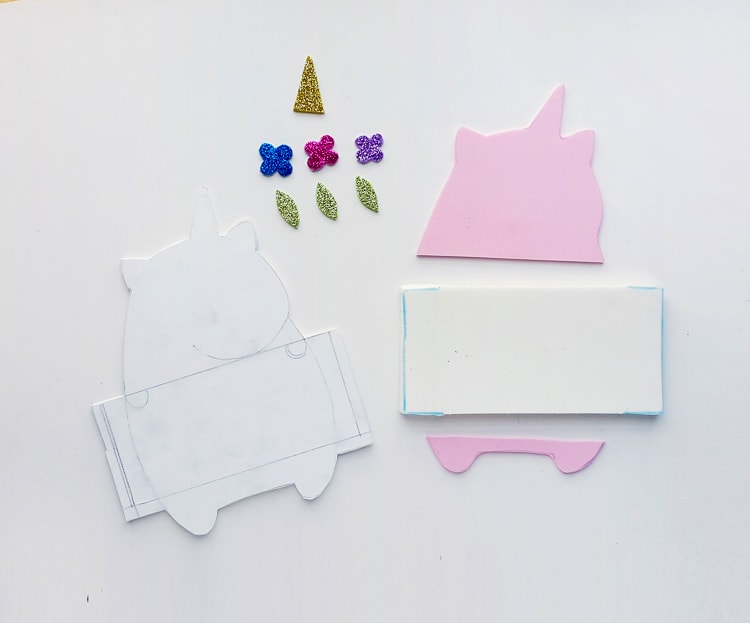
Step 1:
Print out the unicorn bulletin board template.
There are 3 in total, so make sure to print all 3 of them.
Then start cutting out your template pieces. Trace the unicorn pinboard base pattern on the foam board. Then trace each of the separate patters of the pin board on your foam craft sheets.
Trace the flowers and leave pieces on your glittery paper. Then cut out all of your pieces using scissors.
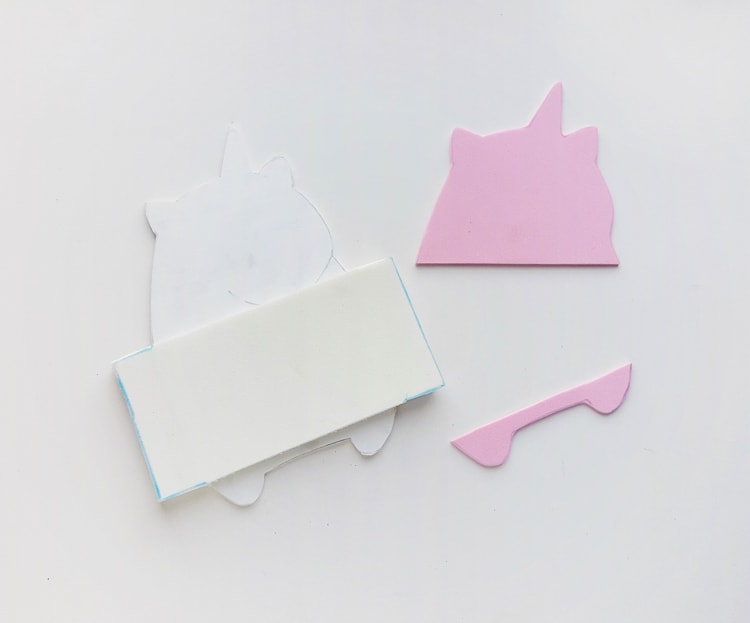
Step 2:
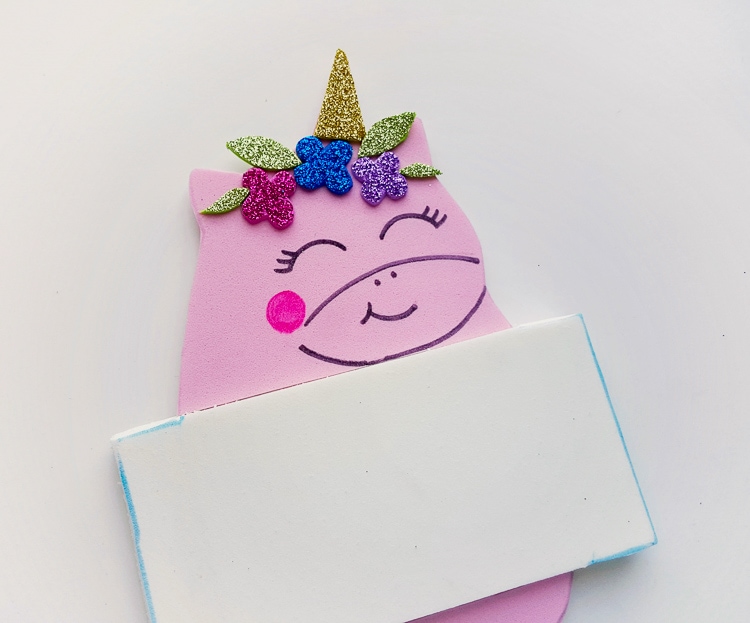
Next, grab your base and 3 separate unicorn pinboard parts. Glue the square foam part onto the square box on the unicorn base.

Step 3:
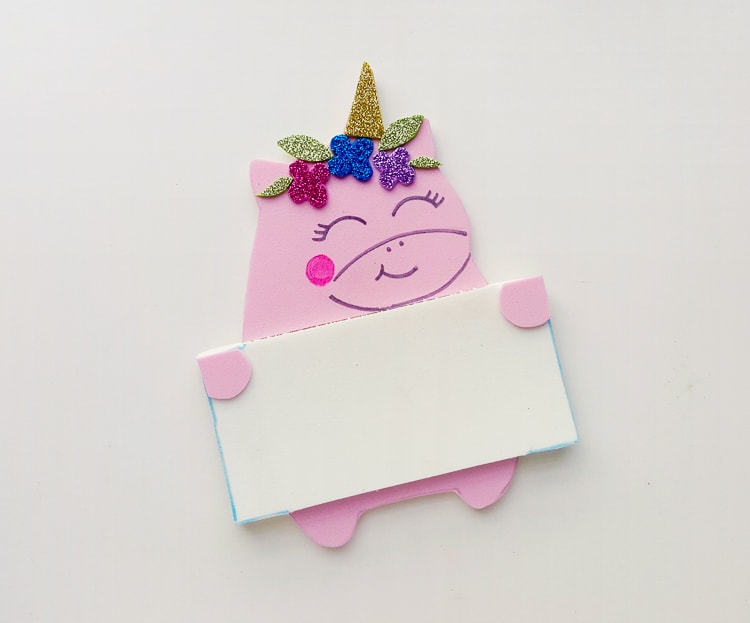
Now you can attach the 2 other unicorn pieces on the base template to complete the right (pinning side) side of the unicorn pin board.
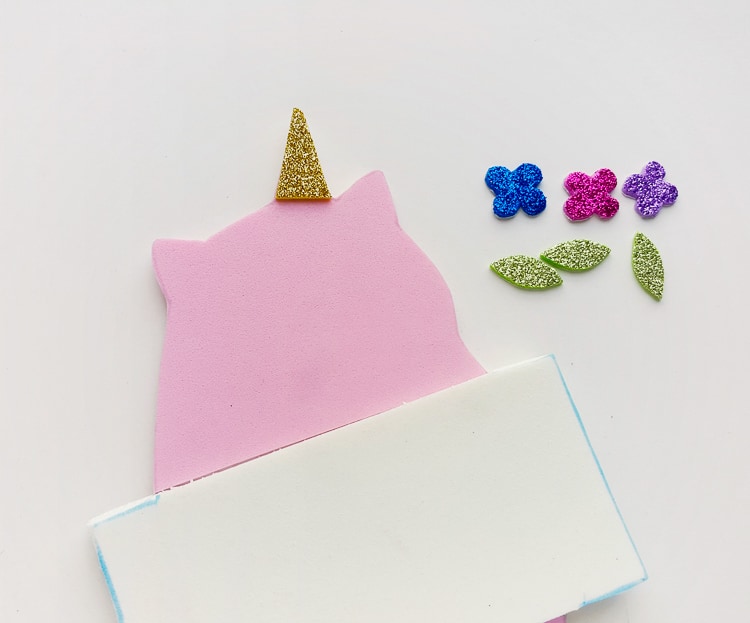
Step 4:
Grab all your glitter flower and leaf cut-outs and start to attach them on the unicorn pin board to decorate it. Next attach your unicorn horn.
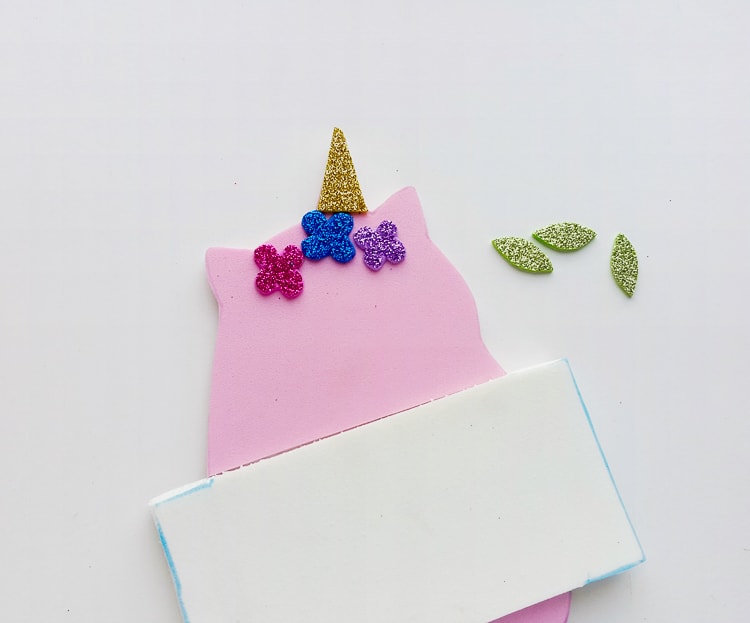
Step 5:
After your unicorn horn is in the right place, start attaching the glitter flower cut-outs one by one under the unicorn’s horn.

Step 6:
Once all of your flowers are in place how you like then, glue them down. Next, you can start attaching the leaf cut-outs in between the flowers.
Step 7:
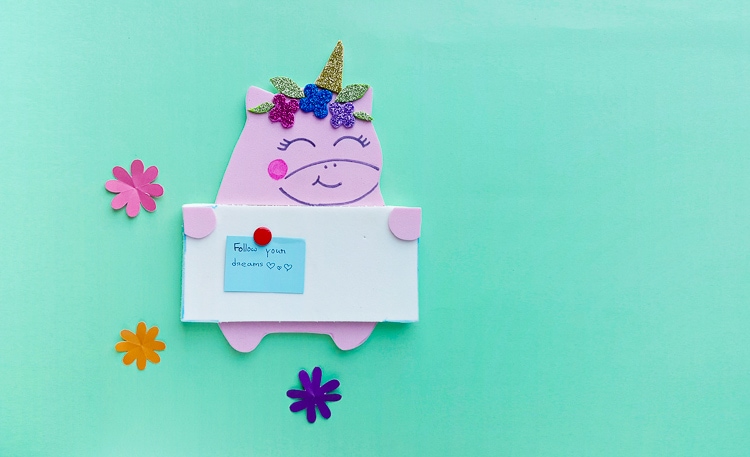
Now draw a cute little face onto your unicorn pinboard and you are done!
You can hang your cute little unicorn craft on the wall of an office or in the kitchen and start pinning messages.
Grab the Unicorn Template
To grab the free printable unicorn templates, place your email in the box below. We’ll send it straight to your inbox!

Cute and Easy Unicorn Pinboard
Using just a few simple materials, you can create this super cute unicorn craft at home.
Materials
- Craft foam sheet
- Craft foam board
- Glitter paper
Tools
- Scissors
- Glue
- X-acto knife
- Pencil
- Black Sharpie
Notes
- Print the template patterns from the link above and cut out your pieces. Make sure to trace the unicorn pin board base pattern on the foam board (or any material that is hard). Trace the separate patterns of the pin board on foam sheets and the flowers/leaves on the glitter paper sheets. Cut out all the traced items using scissors.
- Take the base and the 3 separate unicorn pin board parts. Attach the square foam on the square part of the base.
- Attach the 2 other parts on the base to complete the right (pinning side) side of the unicorn pin board.
- Grab all the glitter cut-outs and start to attach them on the unicorn pin board to decorate it. Start by attaching the horn.
- After attaching the horn, attach the flower cut-outs one by one.
- Done adding the flowers? Now attach the leaf cut-outs in between the flowers.
- Draw the face of the unicorn with your black sharpie.
Attach the unicorn pin board on a wall in your work space and start pinning!