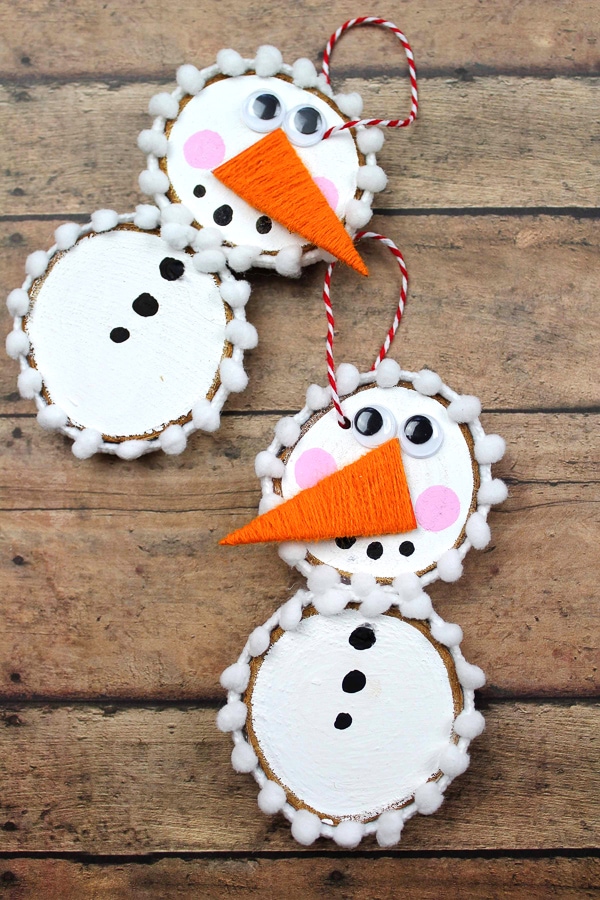
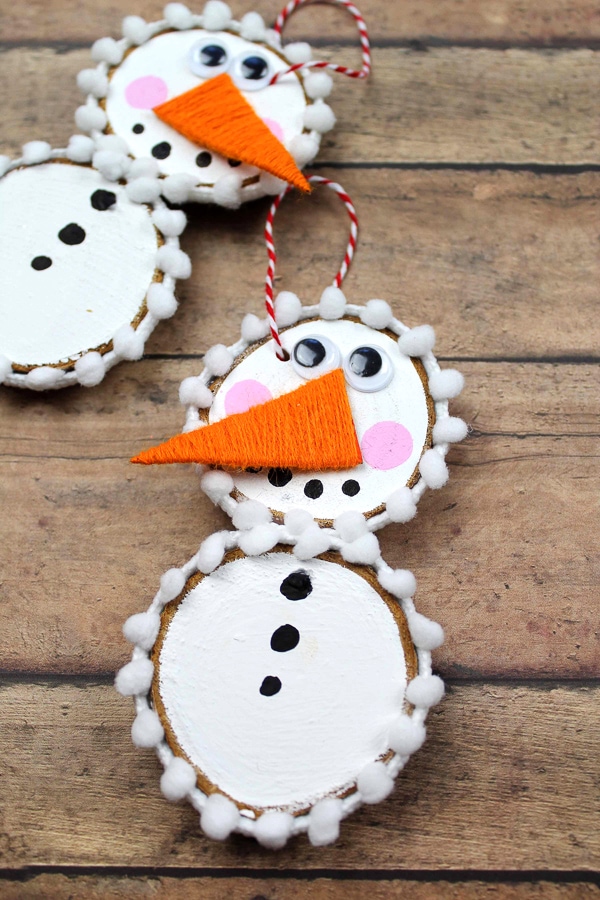
DIY Snowman Ornaments with Wooden Slices
Today we have an adorable DIY snowman craft that turns into a super cute ornament. It’s a fun Christmas craft to try this holiday season.
These DIY Christmas ornaments are a fun Christmas craft for everyone but especially the kids.
We loved sitting down and creating these cute snowmen together.
We love all things Christmas.
And these fun and easy Snowman Ornaments were no exception! They’re a fun winter craft for kids and adults alike.
And if you enjoy making these, you’ll enjoy some of our other snowman printables, like our pin the nose on the snowman game and our snowman coloring pages.
We’ve also got tons of great snowman quotes and super funny snowman jokes!
Let’s get started!
This post may contain affiliate links. This means if you make a purchase after clicking on a link we may earn a small commission. We only recommend products we love or think you will love! Read our disclosure for more info.
Materials
- Wooden slices
- Paint (We used white, black, pink, and red)
- Orange String or yarn
- Googly Eyes
- Paintbrush
- Cardboard
- Scissors
- Glue
- Decorative Trim (optional)
- Decorative String or Ribbon (to hang the ornament)
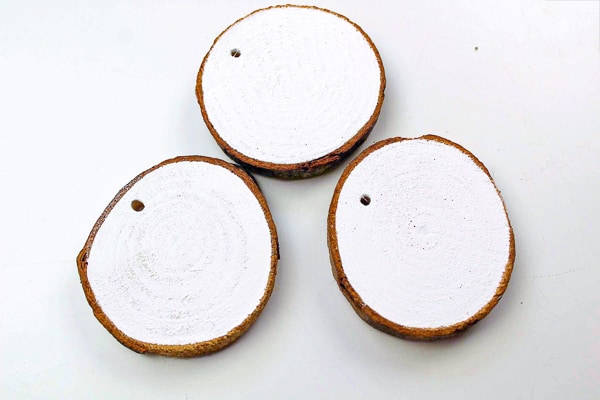
When selecting the wooden disks we suggest ones with predrilled holes. We used ones like these.
The hole will be where the decorative string or ribbon will go through.
If your wooden discs don’t have holes in them you could always just glue the string or ribbon to the back of your finished snowman ornaments.

How to make these adorable DIY Snowman Ornaments
First begin with painting the wooden circles with the white paint.
You’ll need 2 discs for each snowman ornament.
Wait for a couple of minutes and allow the paint to dry completely.
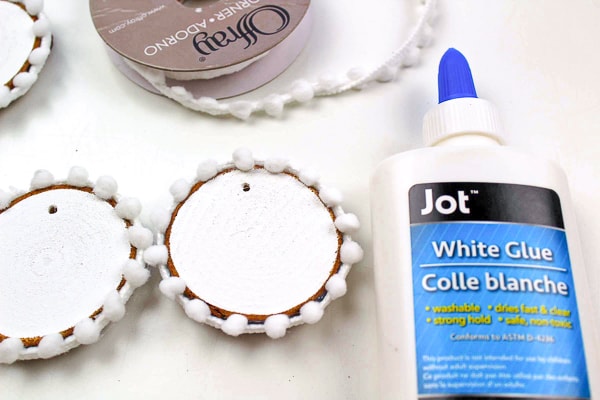
When the white paint is dry, glue some decorative white trim around the edge of your wood slices.
This gives a pretty addition to the snowmen but is totally optional.
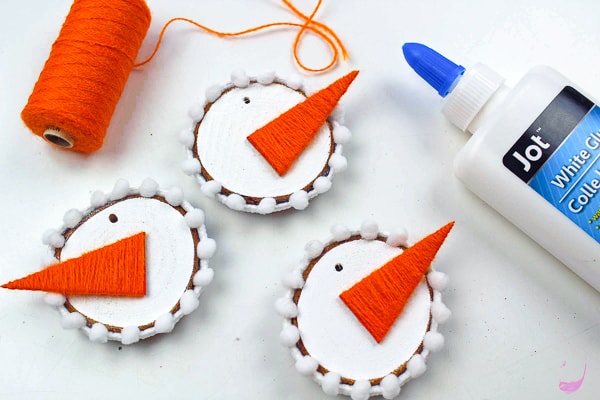
Next, start working on the snowman’s nose.
Cut a long triangle from the cardboard.
Paint the triangle shape with the orange paint and allow it to dry completely.
Then wrap the painted triangle with orange string.
Make sure that the string is secured with glue.
Finally, glue the nose onto the wooden circle.
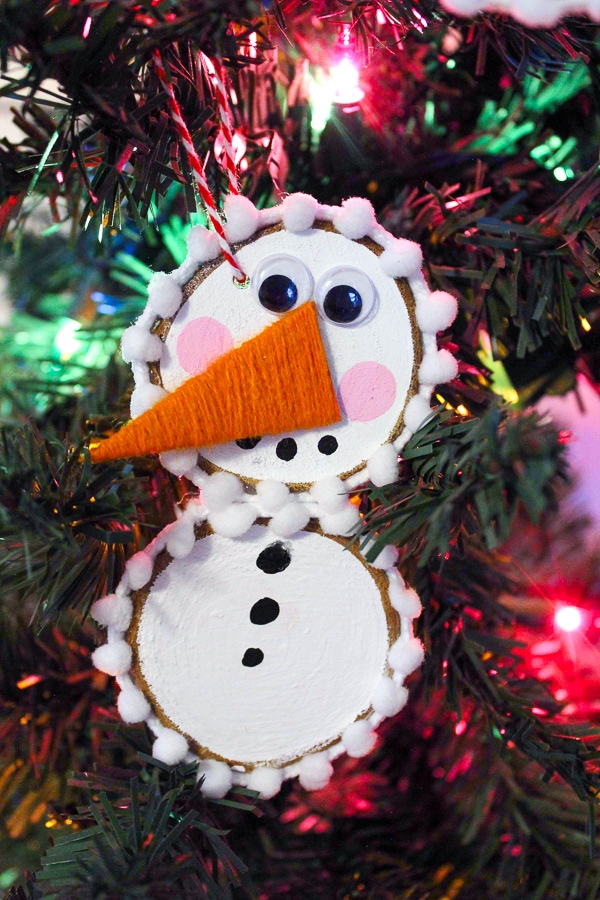
Paint on a black coal mouth. Instead of making a solid line for the mouth we decided to paint on dots in a smile shape.
Next paint three black buttons on your second circle.
The second circle should be solid white and have nothing else on it except the 3 black buttons.
This will be the snowman’s body.
For our snowman’s face, we also added pink rosy cheeks with a bit of paint.
Then glue on the googly eyes above the carrot nose.
Next glue the head wood circle to the body wood circle.
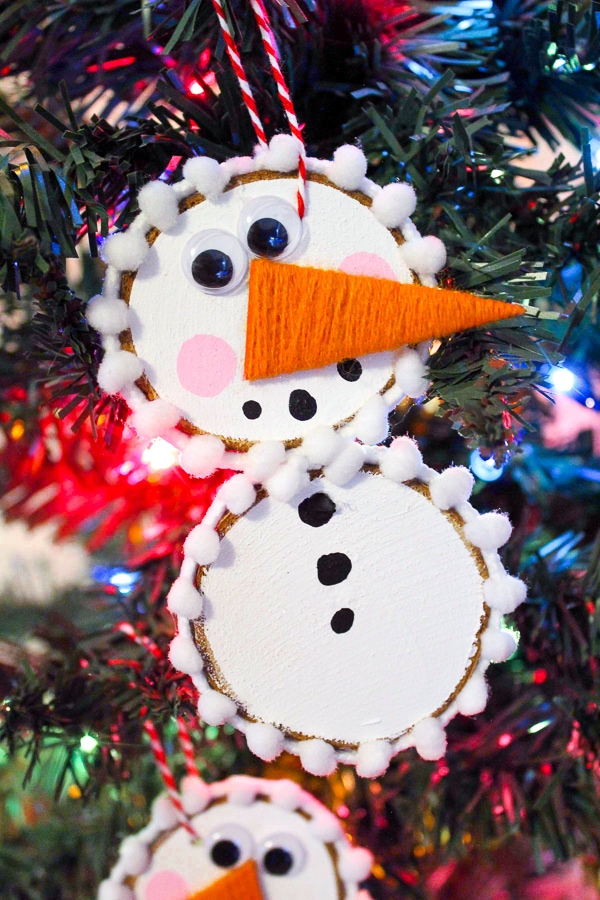
And for the final step, put a piece of decorative string through the hole in the wood and make a loop.
This will be the loop that allows the snowman ornament to hang onto the Christmas tree.
That’s it! Your snowmen are all finished and ready to go.
Don’t they just look cheery?
Once you’ve finished making your snowman ornaments, make sure to give them a cute snowman name.