DIY Cute Felt Christmas Tree Craft with Buttons!


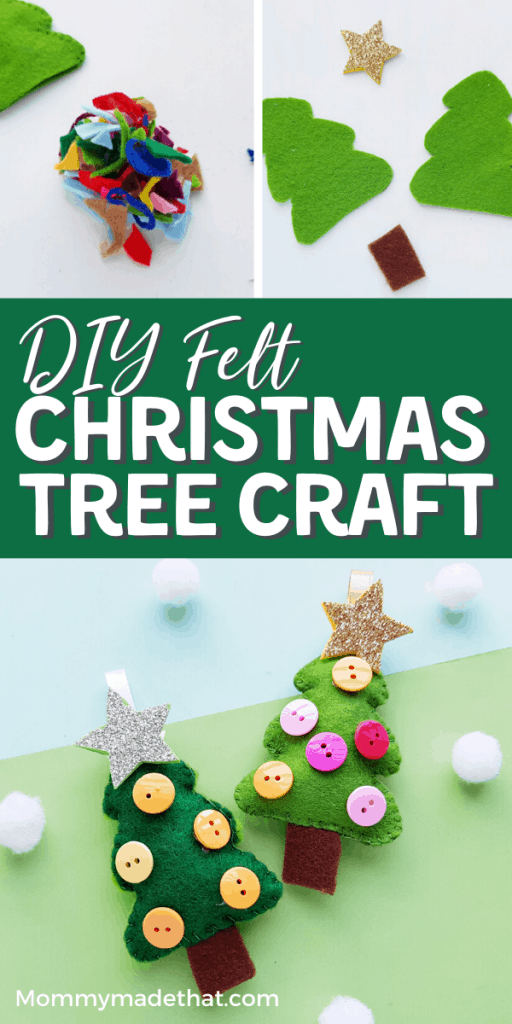
Make a cute felt Christmas tree ornament with simple felt pieces, colorful buttons and our free printable template. This easy DIY felt tree makes a sweet handmade Christmas decoration for the tree, a fun Christmas felt craft for kids and adults, or a small homemade gift.
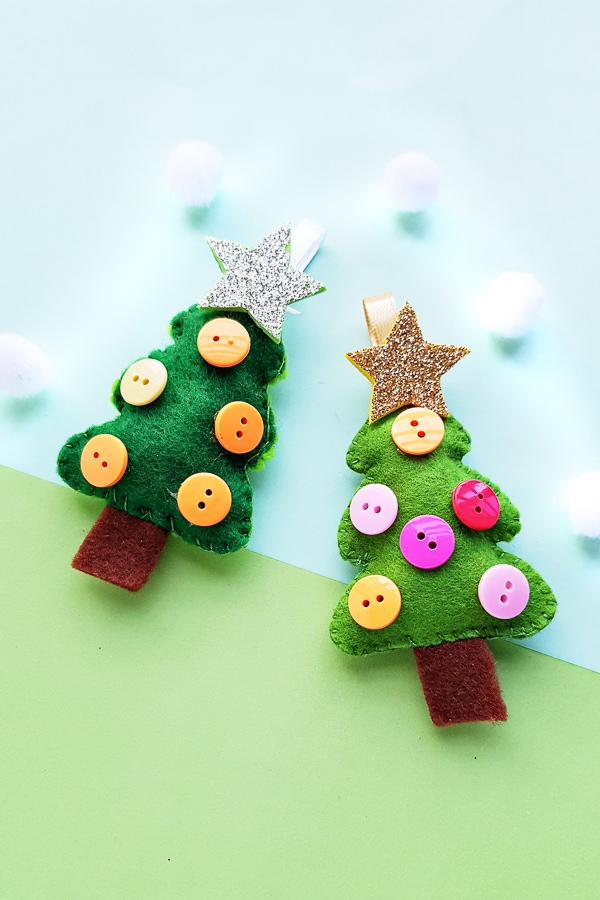
These cute little felt Christmas trees are made from felt and a few decorative elements, like buttons! It’s a fun Christmas tree craft kids love.
They are super cute and a lot of fun to make. They make for perfect DIY felt ornaments, much like our felt fox ornament and our DIY gnome ornaments.
We include a free printable template, so be sure to grab that too so you can make your own felt Christmas tree. Pair your trees with our felt holly berry ornaments, made with layered green leaves and red pompom berries.
This makes a good christmas craft for kids, but it’s fun for the grown-ups too!
Plus DIY Christmas Ornaments are fantastic Christmas crafts to make and sell! So if you’re into craft shows, this will be right up your alley.
And finally, if you enjoy these, you’ll also love our free printable Christmas trees.
This post may contain affiliate links. This means if you click a link and make a purchase we may earn a small commission at no cost to you. You can read all the details here.
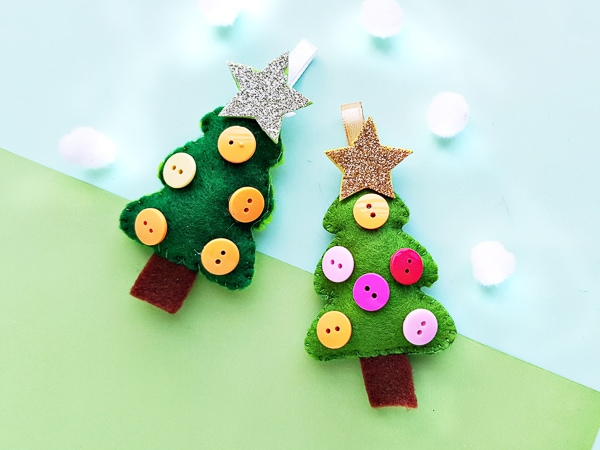
Supplies Needed for Felt Christmas Tree Ornament
For these Christmas Trees you’ll need the following items:
- Felt fabric (we used different shades of green and brown for the trunks)
- Colorful buttons (we used sticker buttons)
- Satin ribbon
- Needle and thread
- Pencil
- Scissors
- Our Christmas Tree Ornament Template (in our craft library)
We recommend using the tree ornament in our craft library, but we have lots of Christmas tree templates.
Other Ways to Decorate Your Felt Christmas Trees
Although we used adhesive buttons similar to these ones, you could use other items like these:
- Sew on regular buttons
- Use adhesive glitter pom poms
- Adhesive rhinestones
- Pieces of scrap felt
You could also just find cute decorative items you already have on hand, and just hot glue them on.
Tip: If you plan on sewing on buttons or beads, attach them to the front felt piece before you stitch the two tree pieces together. Adhesive buttons, rhinestones and pom-poms can be added after the ornament is assembled.
How to Make A Felt Christmas Tree Ornament
To make this cute Christmas tree craft, make sure to head on over to our craft library, download the free printable tree template, and print it out.
Then follow the rest of the steps in the tutorial.
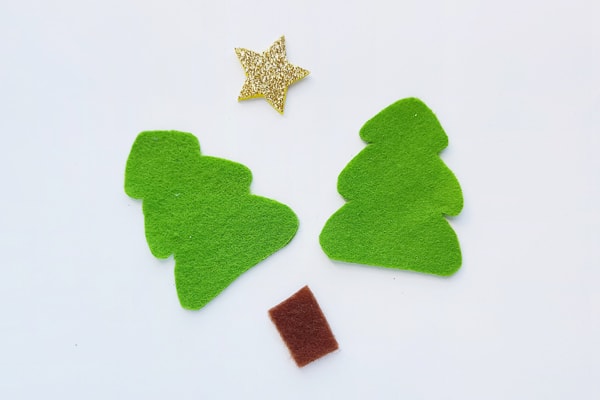
Step 1: Cut out the Christmas Tree Pieces From Felt
The Christmas Tree template comes with 2 tree sizes for this craft.
Select which tree size you want, and then trace them onto your selected felt colors.
Each tree should have 1 treetop, a square trunk, and a star topper shape.
We used some glitter foam for our star, glitter paper would be pretty too, but a felt star would work too.
Step 2: Start Stitching the Tree Parts
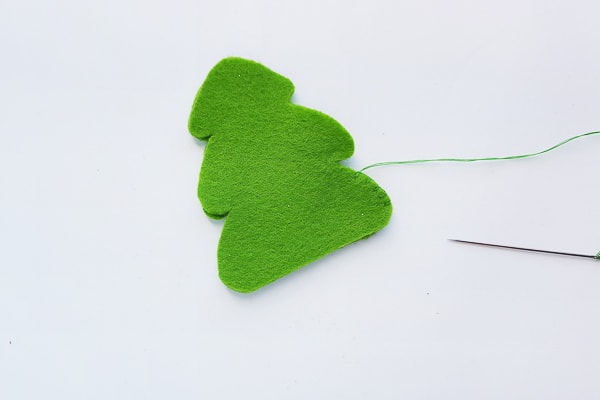
Grabbing the two tree parts and a needle and thread, hold the two parts together.
Start stitching the tree around the sides. You can start from either of the bottom sides, but not the bottom itself, as you’ll need to attach the trunk later.
We used a flat blanket stitch to sew them together.
It should look like the photo below.
Step 3: Keep Stitching Until You Reach the Bottom
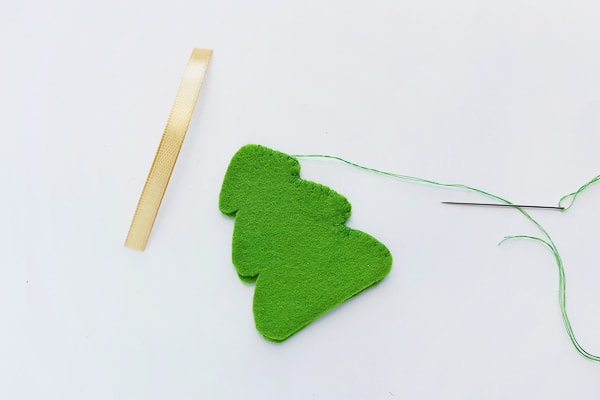
Keep stitching until you reach the top of the tree pattern, then pause before continuing down the other side.
Now grab a piece of satin ribbon, this will be what you can hang your Christmas tree from.
Step 4: Attaching the Ribbon
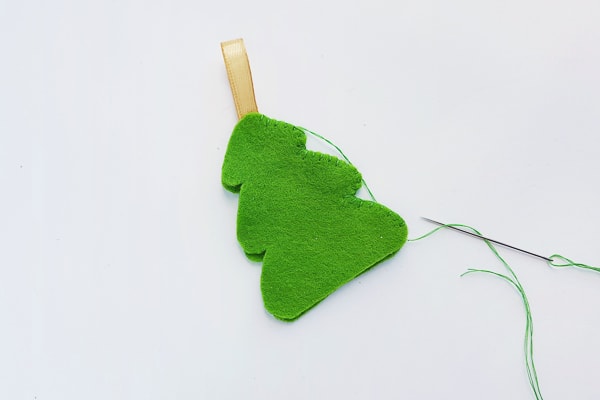
Now fold your satin ribbon in half, and place at the top of your tree, in between the two pieces.
Start stitching again, making sure to catch the ribbon in a couple of stitches so the hanging loop stays secure.
Continue stitching down the tree toward the base.
Step 5: Grab the Stuffing
Once you reach the bottom of the tree, stop stitching and leave the bottom open for stuffing.
Stuff your felt Christmas tree through the bottom opening.
We used scrap pieces of felt to stuff our ornament.
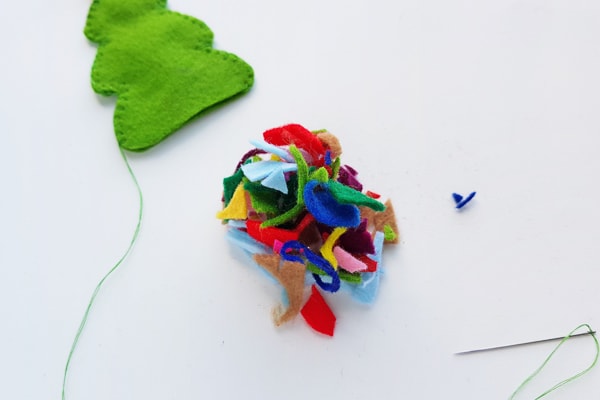
Step 6: Stuff Your Ornament
Now stuff your tree with the scrap pieces through the bottom opening.
Then grab your square felt cutouts, which will be the trunk of the Christmas tree.
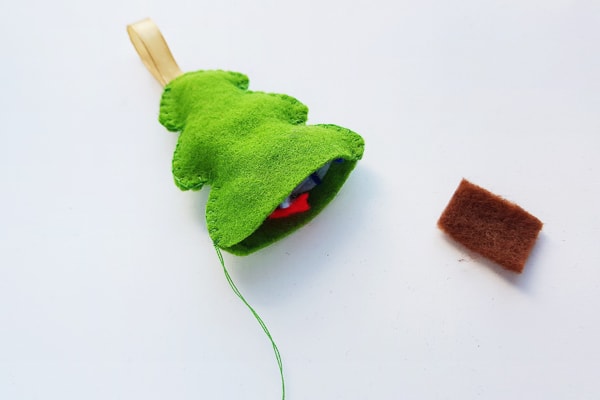
Step 7: Add the Trunk of the Tree
Next, insert the first cm of the tree trunk into the tree opening. Make sure it’s placed in the center.
Stitch along the bottom side to secure the stuffing.
Tie a good knot or two and cut off the extra thread.
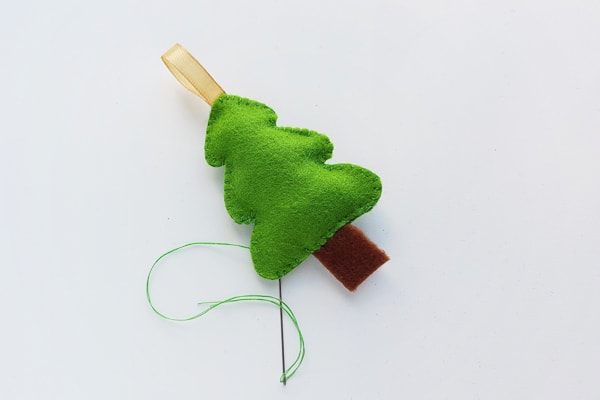
Looking pretty cute already, right?
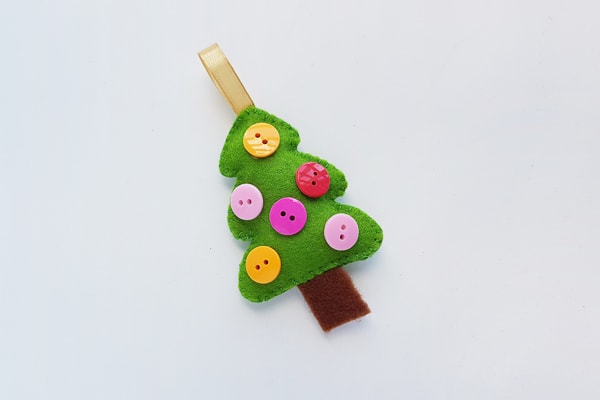
Step 8: Attach your Decorative Buttons
Now you can use your sticker buttons to decorate the tree. Of course, you can use other decorative elements if you’d rather.
Totally up to you and only limited by how creative you want to get.

Be sure to check out the rest of our fun winter crafts for kids for more crafty fun.