Quilled Easter Egg | Fun Paper Craft
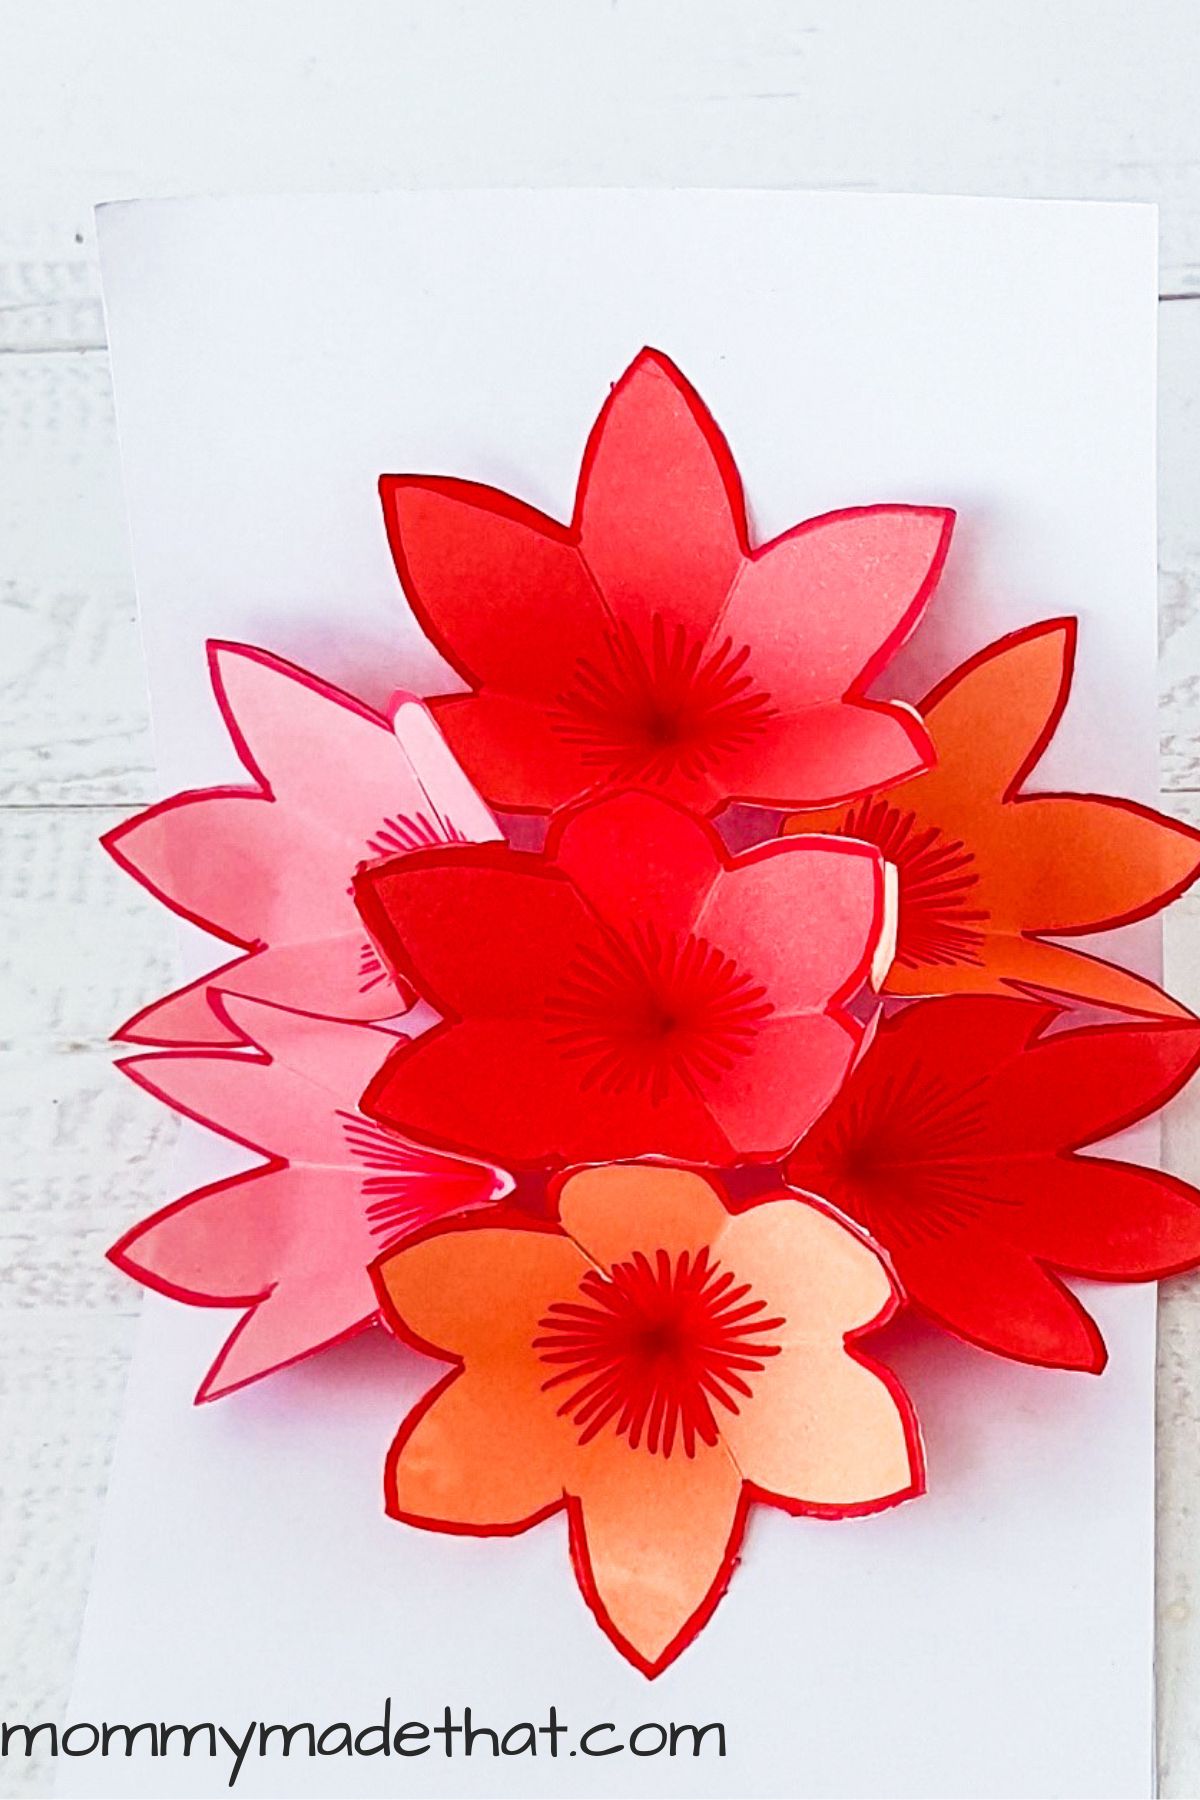
Today we have this cute quilled Easter egg craft. It’s a ton of fun and looks so pretty when finished!
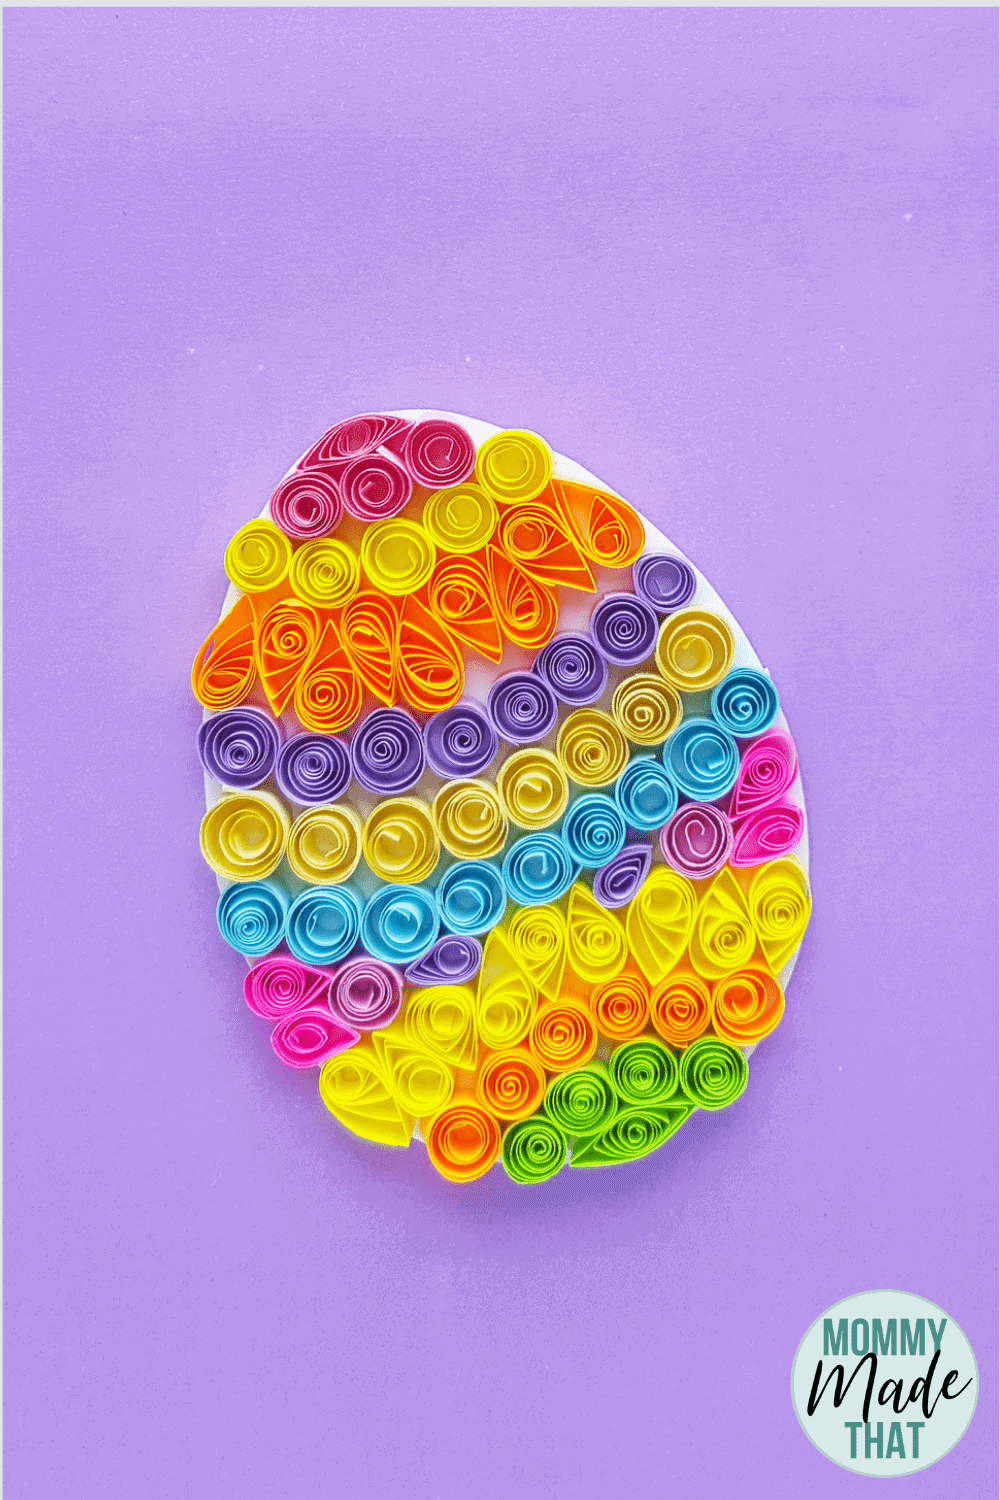
This adorable quilled Easter egg craft is so much fun and can turn strips of paper into a beautiful Easter decoration!
Its a fun Easter craft for kids, especially the older ones.
Quilling is an old art form of using strips of paper curled into shapes to form beautiful designs.
This quilled Easter egg is perfect for a quilling beginner to start their craft!
You can use quilling paper or cut up thin strips of craft paper in your favorite colors.
You can find a fantastic deal on lots of quilling paper here.
Table of Contents
- Supplies Needed for Quilled Easter Egg Craft
- Step 1: Selecting your quilling colors
- How to Make the Quilling Shapes
- Step 2: Cut out your Egg
- Step 3: Start Gluing
- Step 4: Start Adding Your Quilled Shapes to Your Egg
- Step 5: Keep Adding Your Quill Shapes
- Step 6: Fill in the bottom of your Easter Egg
- Step 8: Fill in your gaps
- Step 9: Dry and Enjoy your Quilled Easter Egg
- Quilled Easter Egg Craft
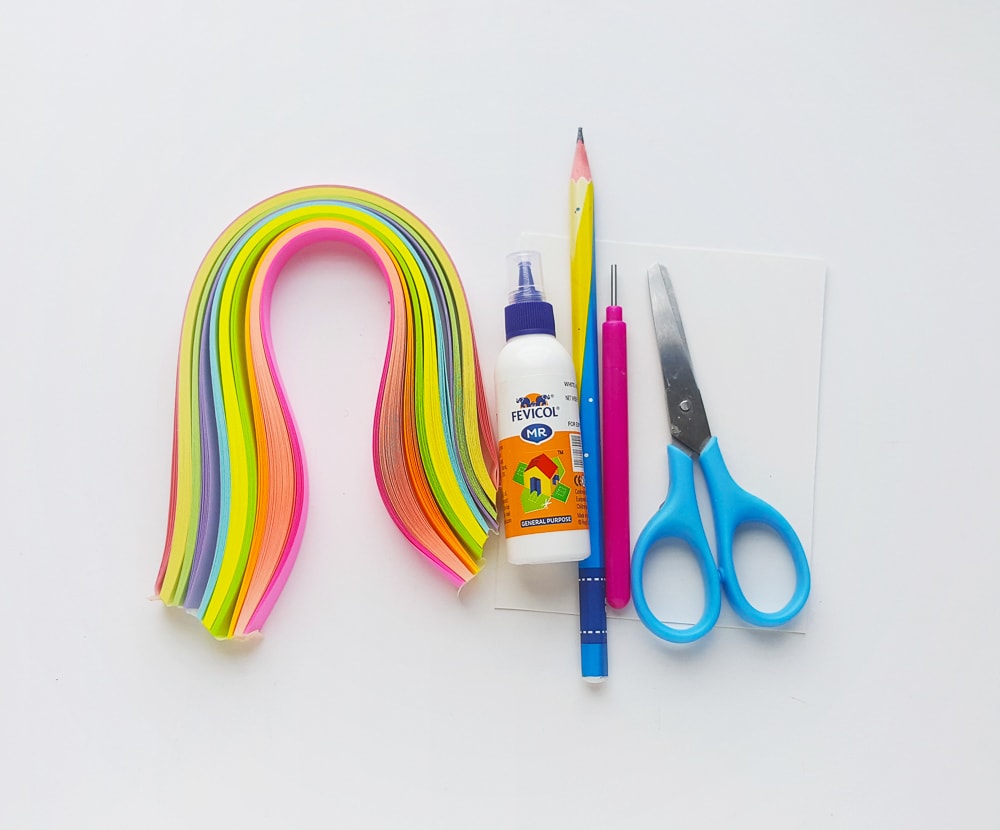
Supplies Needed for Quilled Easter Egg Craft
- Craft paper
- Colorful paper quilling strips
- Slotted quilling tool
- Craft glue
- Scissors
- Pencil
Step 1: Selecting your quilling colors
For this craft, you’ll be making 3 basic quill shapes. A loose coil, a teardrop shape and a lens shape.
The loose coil shape will be used the most, and the other two shapes will be used for filling the egg and adding a decorative flair.
When choosing your colors you can pick lots of brightly colored quilling paper like we did, or go with a different color scheme.
You could make a few pretty ombre ones if you have enough colors, or do a mix of warm colored Easter eggs with cool colored Easter eggs.
I like checking out Pinterest for fun color schemes when looking for a fun and unique looking craft.
How to Make the Quilling Shapes
To make the loose coil shapes, you simple twirl your paper around your quilling tool and let it loosen a bit. Then glue the edge.
To make the teardrop shape, you take your loose coil shape and simple pinch one edge of it to make a point.
To make the lens shape, pinch two ends of your loose coil shape to make two pointed edges.

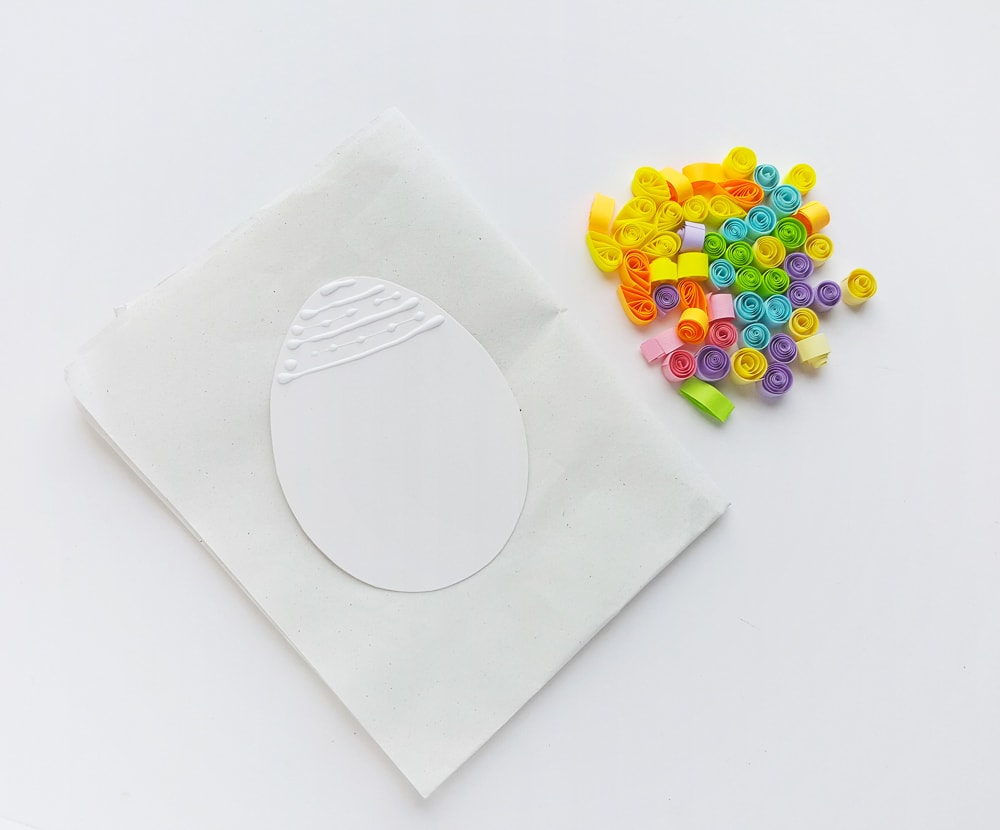
Step 2: Cut out your Egg
Now you can cut out your egg shape from a thick piece of craft paper.
You can download and print one of our Easter egg templates.
We used white paper for our easter egg background, but next time I think a light pink or blue would be really pretty.

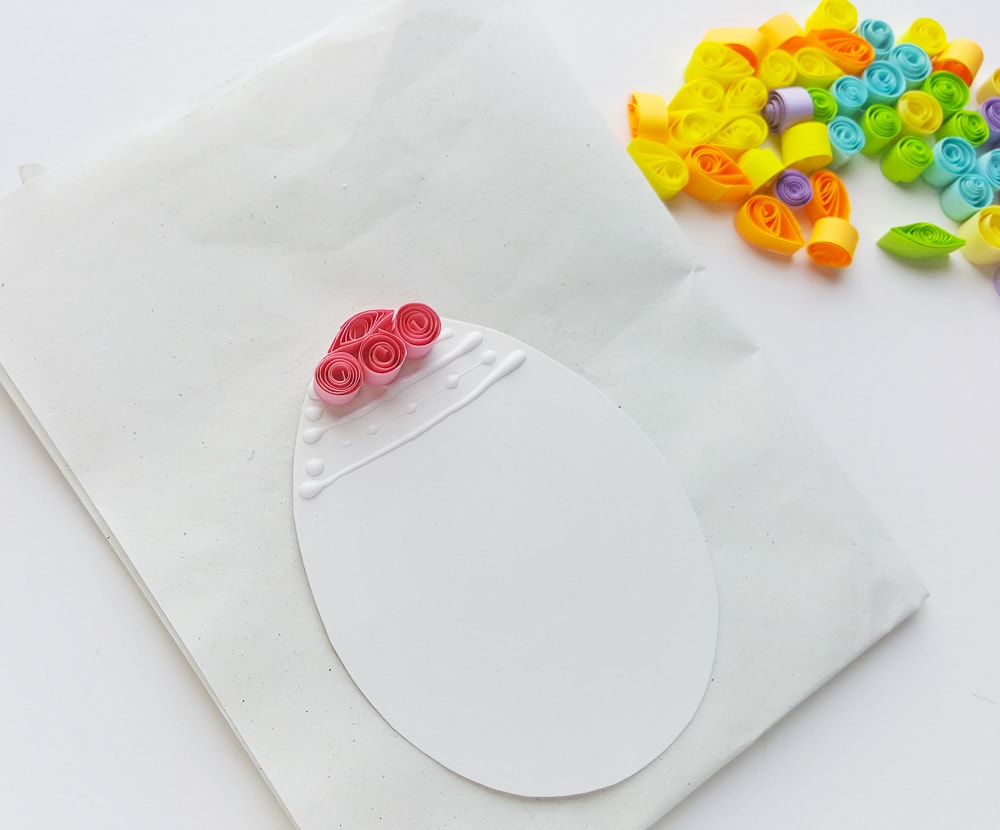
Step 3: Start Gluing
Start gluing down quilled shapes onto your egg cut out. I recommend starting from the top or bottom of your egg.
Apply glue over a large chunk of your egg where you’ll want to be adding in your quilled shapes first.
Step 4: Start Adding Your Quilled Shapes to Your Egg
Start placing your quilled shapes onto the glued area of your easter egg. Make sure to gently press your shapes into the glue so the stick well and still hold their shape.
Try to make sure to follow the border of your egg so it doesn’t end up looking like a big blob vs an easter egg.
The top and bottom of your Easter egg is the perfect place for your lens-shaped quills.
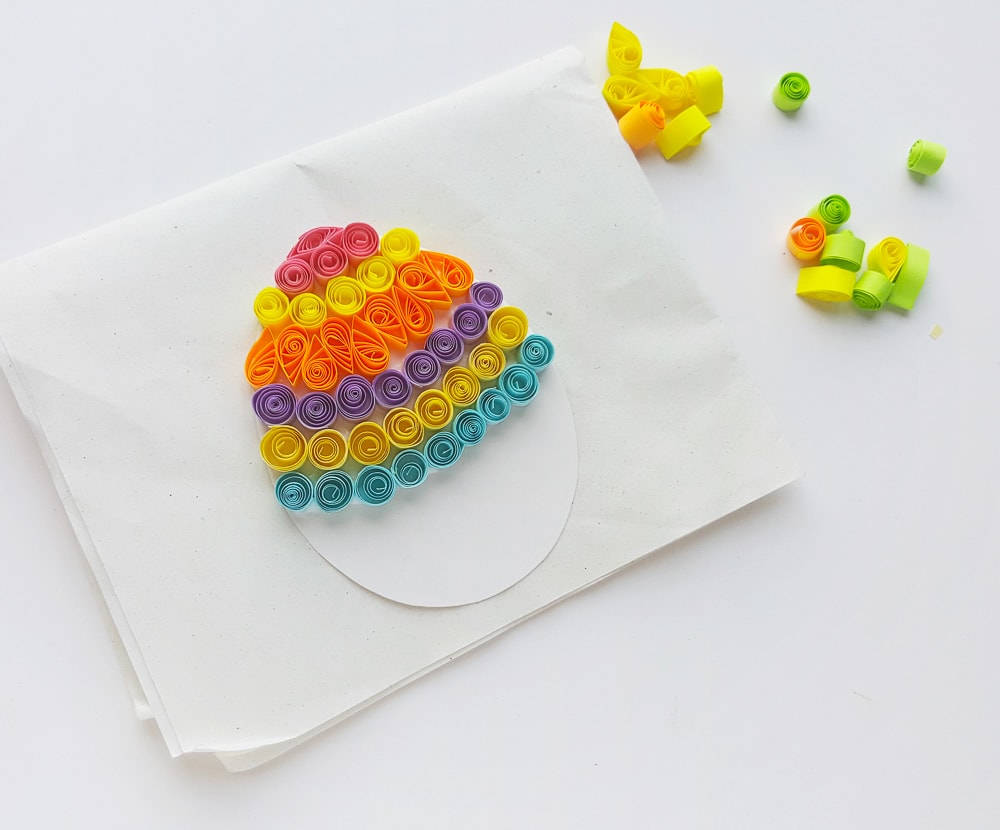
Step 5: Keep Adding Your Quill Shapes
Keep adding your quill shapes to fill up your easter egg halfway through.
I like adding in a layer of tear drop shapes close to the top and bottom of our eggs. It adds an interesting pattern that makes this easter craft really stand out.
Step 6: Fill in the bottom of your Easter Egg
Once the top half of your Easter egg is filled, now you can start filling in your other end.
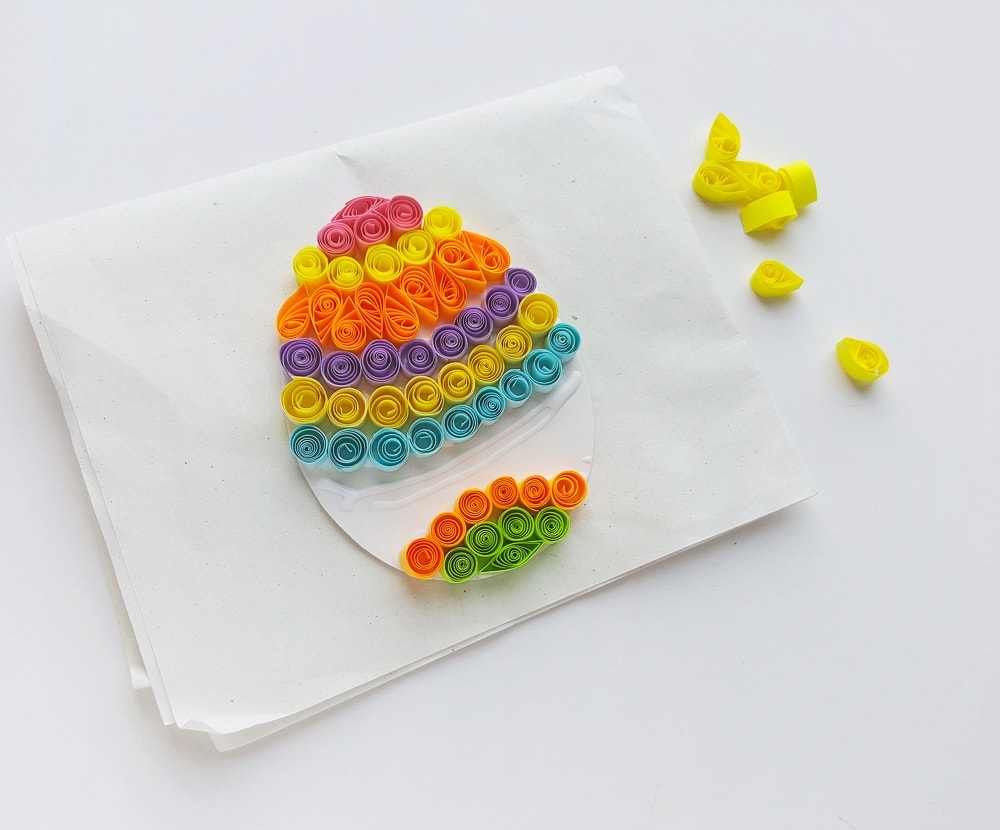
Step 7: Continue filling
Continue filling in your Easter egg with your quill shapes. Remember to add in your bottom layer of teardrop quill shapes too.
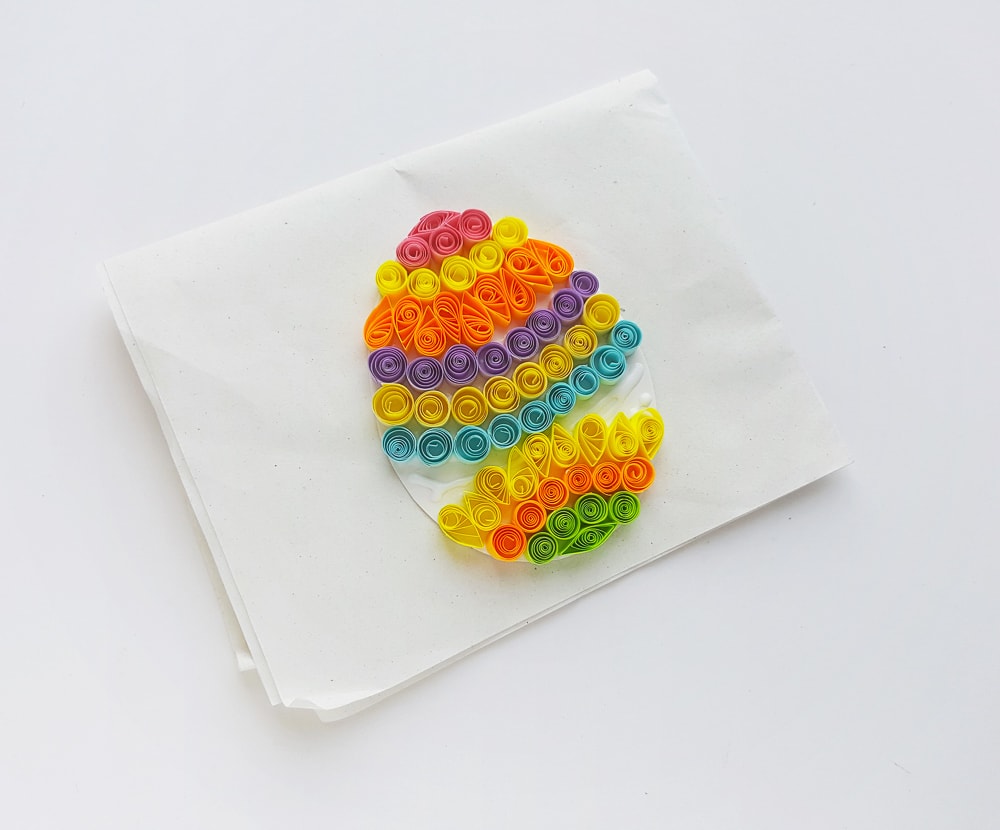
Step 8: Fill in your gaps
Now you can use a variety of shapes to best fill in your gaps between your bottom half and top half.
We used a combination of teardrop and loose coils to fill in ours.
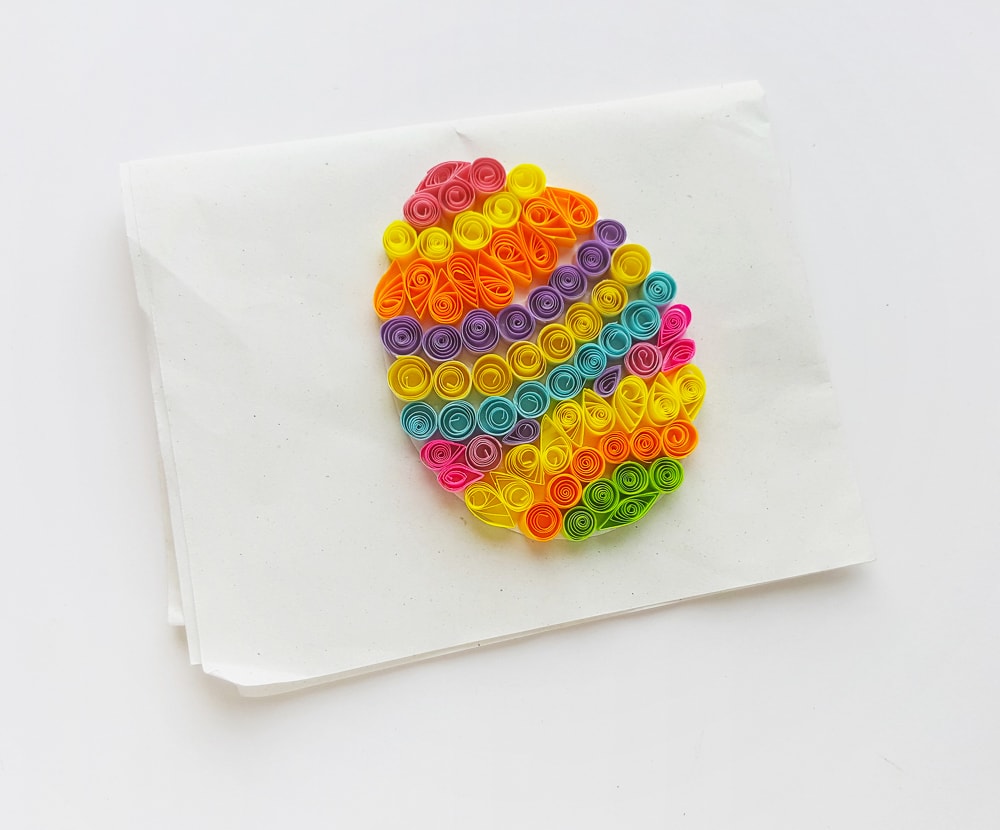
Step 9: Dry and Enjoy your Quilled Easter Egg
Once you have completely filled in your egg, allow the glue to dry completely. We let ours sit out overnight to be sure they were really dry.
Now you have a beautiful Easter egg decor that you can hang up on the wall, glue a magnet on the back or just prop up and enjoy.
I think this would be super cute placed inside a small frame too!
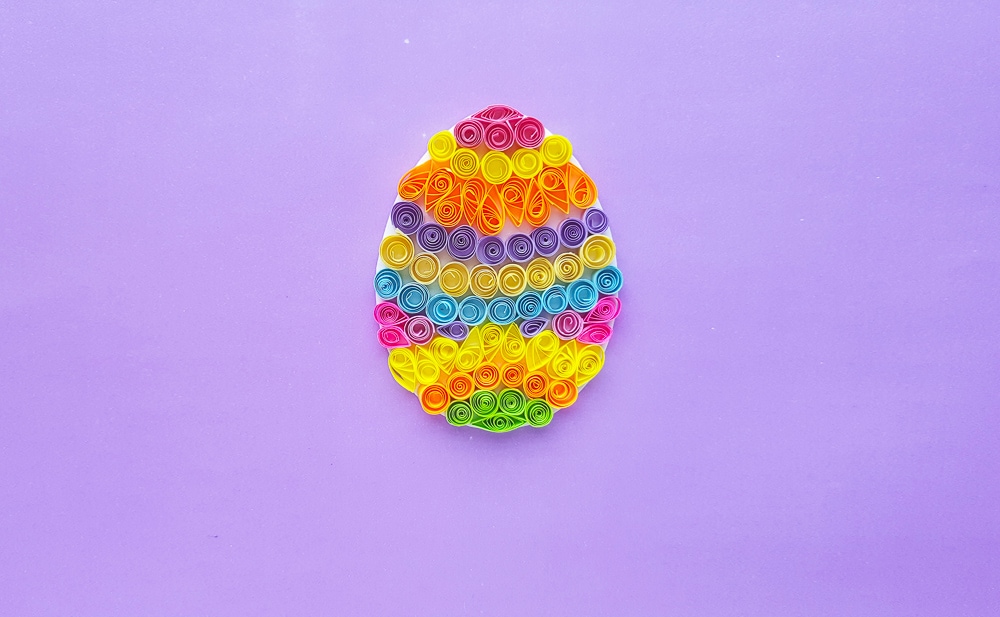

Quilled Easter Egg Craft
Create a beautiful little quilled Easter egg to decorate your home.
Materials
- Craft paper
- Colorful paper quilling strips
- Craft glue
Tools
- Scissors
- Pencil
- Slotted quilling tool
Instructions
- Grab a variety of colors of your quilling strips and start making your 3 basic shapes. Lots of loose coils, some teardrop shapes and a couple of lens shapes.
- Print out your egg template from our library or freestyle cut and Easter egg shape out of thick card stock or craft paper.
- Starting on one end of your egg cut out, start gluing your quill shapes into place. We used a lens shape at the very top and bottom of our egg.
- Keep following the shape of your egg, making sure to press your shapes firmly, but gently, into your craft glue.
- Keep adding and gluing your shapes until half of your egg is filled.
- Now starting on the opposite side, start adding in more of your quill shapes.
- Once your have filled in the bottom half, now start filling in your gaps with various shapes. We find a symmetrical pattern works best.
- Allow your glue to completely dry, and enjoy your Quilled Easter Egg Craft!
Notes
You don't have to stick with the typical bright colors. It can be a lot of fun to use different color schemes. Search Pinterest for some color inspiration and find quilled paper in those colors. You could do a typical Easter pastel color scheme, or you could do something completely different, like You may find the variation works wonderfully.